HEAT SHRINK TUBE–INDUSTRIAL INSULATION & SEALING
HEAT SHRINK TUBE–INDUSTRIAL INSULATION & SEALING?
I was on a site visit a few months back, staring at a piece of heavy machinery that had shut down an entire production line. The cost was astronomical, and the cause was infuriatingly simple: a single corroded sensor connection. A splash of coolant had wicked its way into a splice that was “protected” by a loose wrap of electrical tape. It’s a scenario I’ve seen play out in a dozen different ways over my 15 years as an application engineer. A small oversight in protection leads to a catastrophic failure down the line.
This is where we move beyond temporary fixes and into professional-grade solutions. The component that could have saved that connection—and thousands of dollars in downtime—is the humble yet mighty heat shrink tube. When selected and installed correctly, it’s not just a cover; it’s a custom-molded suit of armor for your most critical electrical connections.
Before we dive deep, here are the key takeaways you should never forget:
- Your shrink ratio must accommodate both the largest and smallest diameters you need to cover.
- If there is any chance of moisture, chemicals, or dust, use adhesive-lined (dual-wall) tubing. No exceptions.
- Always use a proper heat gun, starting from the center and working your way out for a smooth, tight seal.
- Proper preparation is half the battle. A clean, smooth surface ensures a reliable bond and seal.
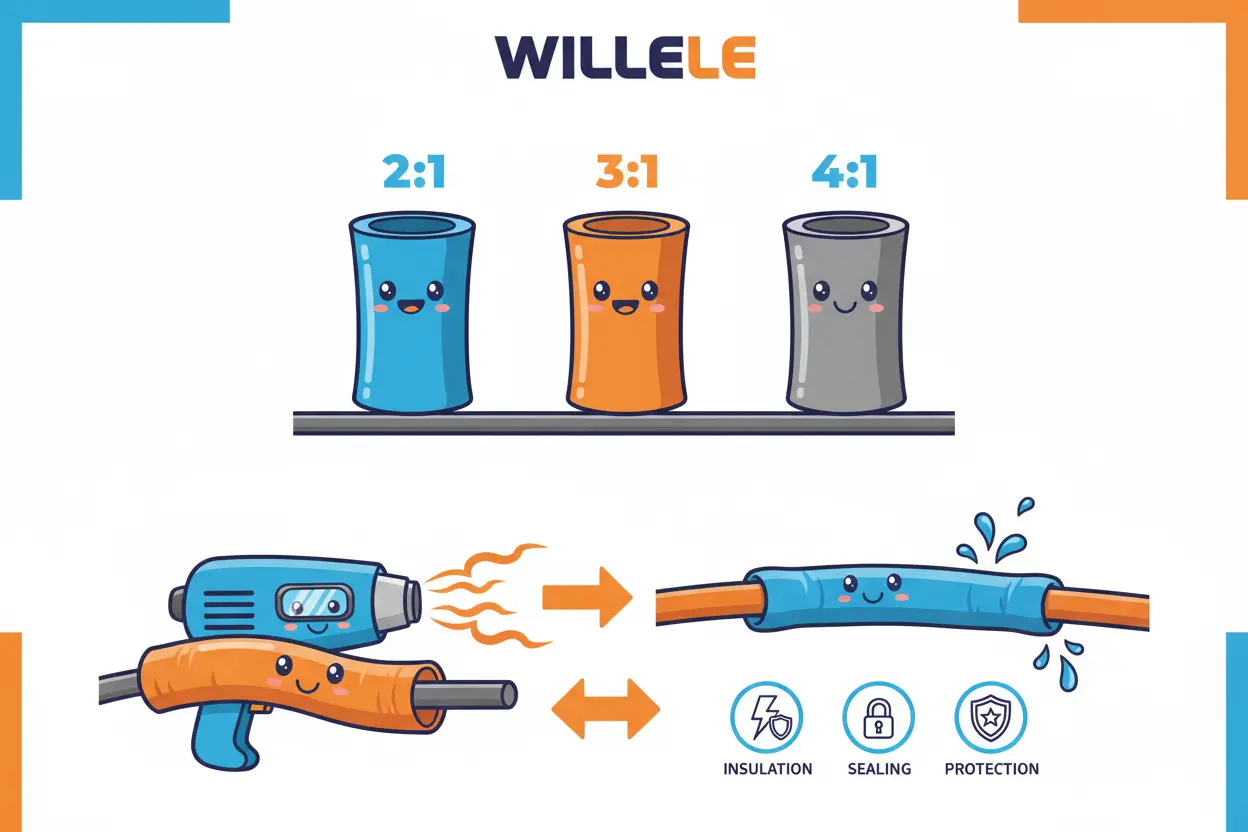
Section 1: Decoding the Ratios: Choosing the Right Tool for the Job (2:1, 3:1, 4:1)
The most fundamental specification of a heat shrink tube is its shrink ratio. This number tells you how much the tube will shrink from its original, expanded size to its final, recovered size . Choosing the right one is like picking the right socket for a bolt—too big and it won’t grip; too small and it won’t fit over the head.
- 2:1 Ratio – The Workhorse: This is the most common and cost-effective option. It shrinks to half its original diameter. It’s perfect for insulating uniform wires, splices, and components where the diameter doesn’t change much. Think of it for general-purpose bundling and insulation inside a control panel.
- 3:1 Ratio – The Versatile Performer: This is my go-to for most field applications. It shrinks to one-third of its original size, giving you much more flexibility. It’s ideal for covering wires that have connectors or terminals attached, where you have a significant jump in diameter. For example, sealing a 12mm connector onto a 6mm cable is a perfect job for 3:1 tubing.
- 4:1 Ratio – The Professional Grade: When you need maximum sealing over highly irregular shapes, the 4:1 ratio is your best friend. It shrinks to a quarter of its original size. I specify this for applications in harsh environments like automotive wiring harnesses, marine equipment, and outdoor junctions where a large connector must be environmentally sealed to a much thinner cable . It provides a rugged, reliable seal over extreme diameter differences.
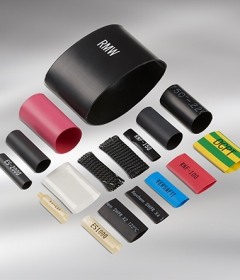
Section 2: Material Matters: Selecting Your Armor
While there are many specialized materials, for 90% of industrial applications, you’ll be dealing with Polyolefin. It’s the standard for a reason: it offers a fantastic balance of flexibility, durability, and temperature resistance, and it’s flame-retardant .
For extreme environments, you might encounter other materials like Kynar (PVDF) for high-temperature and chemical resistance or Viton for fuel and oil resistance, but for everyday machinery, electrical panels, and general repairs, Polyolefin is the material you’ll rely on.
Section 3: Single-Wall vs. Dual-Wall (Adhesive-Lined): The Difference Between Covering and Sealing
This is probably the most critical decision you’ll make. Getting this wrong is the number one cause of field failures I see.
- Single-Wall Tubing: Think of this as a simple protective jacket. It’s excellent for providing electrical insulation, strain relief, and protection from abrasion and scrapes inside a dry, controlled environment like an electrical enclosure . It bundles and identifies wires beautifully.
- Dual-Wall (Adhesive-Lined) Tubing: This is the real deal for environmental protection. It has an inner layer of thermoplastic adhesive that melts as the tube shrinks. This adhesive flows into every nook and cranny of your component, then cools to form a solid, waterproof, and dust-proof seal. For any connection that will be exposed to moisture, vibration, chemicals, or outdoor conditions, dual-wall tubing isn’t just an option—it’s a requirement.
Section 4: Installation Best Practices: A Field-Tested Method
A perfect seal doesn’t happen by accident. Follow these steps every time.
- Measure & Cut: Cut your tubing slightly longer than the area you need to cover. Remember that tubing can shrink longitudinally (lengthwise) by about 5-10%, so this extra length provides a margin of safety.
- Clean the Surface: Wipe down the wires and connectors to remove any oil, grease, or dirt. The adhesive in dual-wall tubing needs a clean surface to bond to.
- Position Correctly: This is the step people always forget. Slide the heat shrink tube over the wire before you make your final solder or crimp connection. Center it over the joint you need to protect.
- Apply Heat: Use a proper industrial heat gun, not a lighter or a torch. An open flame can easily burn the tubing and compromise its integrity. Start in the center of the tube and slowly rotate and move the heat gun towards one end until it’s fully shrunk. Then, return to the center and work towards the other end. This technique pushes air out and prevents bubbles.
- Inspect the Seal: Continue applying heat until the tube is snug and has fully recovered. For dual-wall tubing, the job is done when you see a small, clear bead of adhesive pushing out from both ends of the tube. This is your visual confirmation of a complete, watertight seal . Let it cool completely without touching it.
Section 5: Troubleshooting: Common Mistakes I See in the Field
- Mistake: The tube is wrinkled or won’t shrink completely.
- Cause: You’ve either used a ratio that is too large for the object or you’ve applied heat unevenly.
- Fix: Ensure your recovered diameter is smaller than your object’s diameter. Apply heat more slowly and evenly around the entire circumference.
- Mistake: The tube is burned or has a hole.
- Cause: You used an open flame or held the heat gun too close for too long.
- Fix: Use a heat gun and keep it moving. If the tube is damaged, you must cut it off and start over. A burned tube has lost its dielectric and mechanical strength.
- Mistake: The seal failed and let moisture in.
- Cause: You used single-wall tubing where you needed dual-wall, or you didn’t heat it enough for the adhesive to flow and seal properly.
- Fix: Always use adhesive-lined tubing for environmental protection. When installing, make sure you see that small ring of adhesive seep out the ends.
Conclusion
Electrical tape has its place, but it is not an industrial-grade sealing solution. Taking the time to select the correct heat shrink ratio and type—and to install it with care—is the mark of a true professional. It’s a small step that prevents massive headaches and ensures the systems you build or maintain are safe, durable, and reliable for years to come. Don’t let a five-cent component be the cause of a five-figure failure.
