Adhesive Lined vs Single Wall Heat Shrink Tube
Adhesive Lined vs Single Wall Heat Shrink Tube : Which to Choose?
This question seems simple on the surface, but get it wrong and you might find yourself in a situation like this: It’s 2 a.m. and the phone rings. A plant manager’s voice is strained with panic. “The main conveyor line is down,” he says. “We’re losing thousands of dollars a minute.” After a frantic hour of troubleshooting, I trace the fault to a single motor connection, corroded and shorting out. The cause? A splice protected by a piece of heat shrink tubing that was never designed for the wet, high-vibration environment it was in.
In my 15+ years as an application engineer, I’ve witnessed this exact scenario play out countless times. The decision between adhesive-lined and single-wall heat shrink tubing—a choice that seems minor during assembly—can become the single point of failure for an entire system. It’s a hard lesson to learn in the field, but an easy one to prevent at the design stage.
The choice almost always comes down to two primary options: the standard single wall heat shrink tube and its rugged, adhesive-lined (or dual wall) counterpart. Understanding when to use each isn’t about selecting between good and bad products—it’s about choosing the right tool for the specific application. In our world, the right tool is the one that guarantees long-term reliability.
The Workhorse: Single Wall Heat Shrink Tubing
Let’s start with the most common type you’ll find in any workshop: single wall tubing. It’s typically made from a durable cross-linked polyolefin. Its job is straightforward and it does it well.
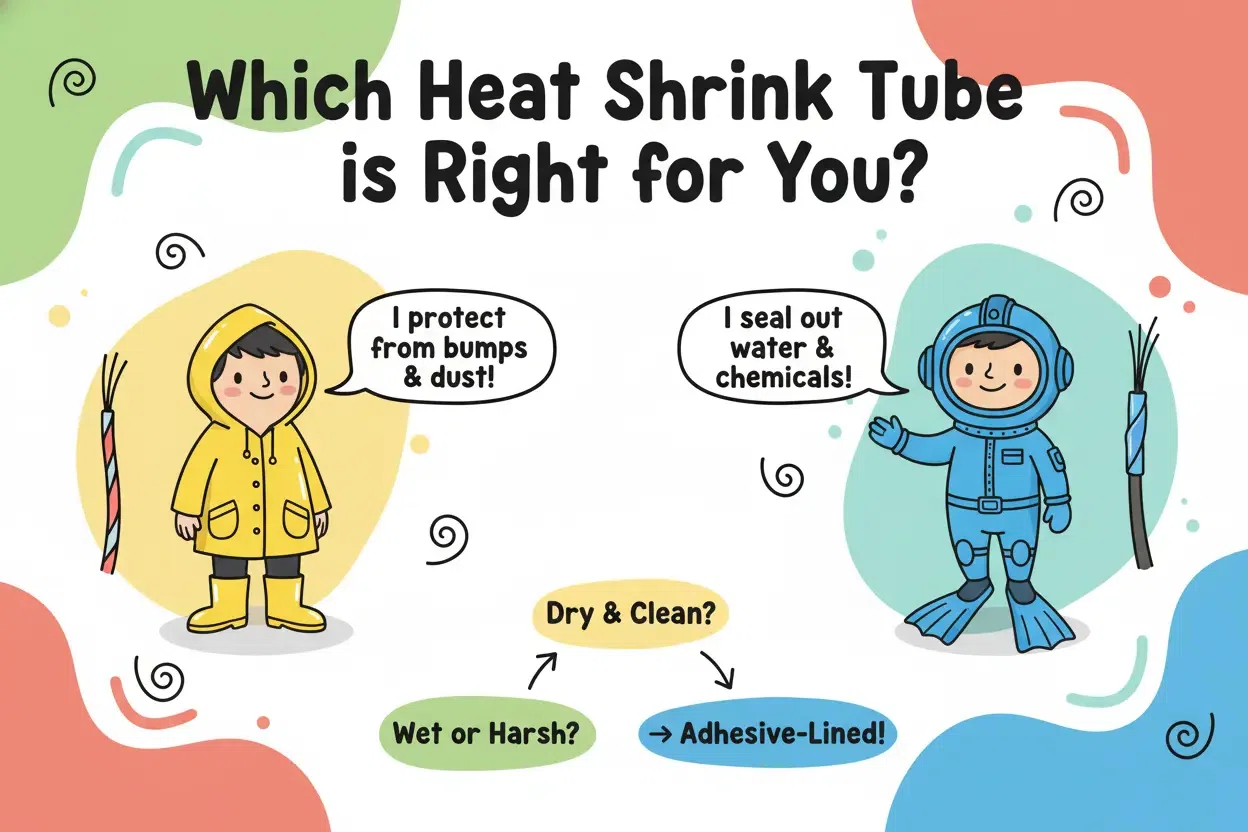
To explain it, let’s use an analogy. Think of single wall tubing as a high-quality raincoat. It’s lightweight, flexible, and provides an excellent layer of defense against everyday hazards. It will reliably protect a connection from bumps, abrasion, dust, and incidental contact with fluids.
Its primary functions are:
- Mechanical Protection: It adds a tough outer skin to delicate solder joints and crimps, protecting them from vibration and physical stress.
- Dielectric Insulation: It provides an additional layer of electrical insulation, crucial for preventing shorts in tight spaces.
- Wire Bundling & Management: It’s an ideal, professional-looking way to bundle a group of wires into a clean, manageable harness.
- Color-Coding: With a wide array of colors available, it’s perfect for identifying circuits, voltages, or functions at a glance.
Pro-tip from the field: For applications inside a climate-controlled enclosure, like a control panel or server rack, single wall tubing is the smart, efficient, and cost-effective choice. There’s no need to over-engineer a solution when the environment is clean and dry.
The Fortress: Adhesive Lined (Dual Wall) Heat Shrink Tubing
Now, let’s talk about the heavy-hitter. Adhesive lined tubing, also known as dual wall, is a completely different beast. It consists of two layers: the same tough polyolefin outer jacket as single wall, but with a unique inner lining of thermoplastic adhesive.
When you apply heat, something amazing happens. While the outer wall shrinks down, the inner wall melts and flows, filling every tiny crevice of the wire, connector, or splice. As it cools, this adhesive forms a solid, semi-flexible barrier.
If single wall tubing is a raincoat, then adhesive-lined tubing is a deep-sea diving suit. The outer jacket provides the rugged mechanical strength, but it’s that inner adhesive layer that creates a complete, waterproof, hermetic seal. Nothing gets in or out.
This makes it the undisputed champion for any application where the connection will be exposed to:
- Moisture, humidity, or full water submersion
- Salt spray in marine or coastal environments
- Corrosive chemicals or fluids
- Dust and dirt ingress
- Extreme pressure changes
Key takeaway: If your connection will be exposed to the elements, adhesive-lined tubing isn’t a luxury; it’s a necessity for long-term reliability. The small additional cost and effort upfront will save you from catastrophic, and expensive, failures down the road.
The Engineer’s Playbook: Selection and Installation
Knowing the difference is half the battle. Now you need to make the right choice and install it like a pro.
Actionable Guide: How to Choose the Right Tubing
- Step 1: Assess Your Environment. This is the most important question. Will this connection ever be exposed to moisture, chemicals, salt, or significant dirt? If the answer is even a remote “yes,” you should default to adhesive-lined tubing. If it’s in a sealed enclosure, single wall is likely sufficient.
- Step 2: Define the Mechanical & Electrical Needs. What level of abrasion resistance do you need? What is the voltage? Ensure the tubing’s specifications for wall thickness and dielectric strength meet your design requirements.
- Step 3: Measure Twice, Shrink Once. Use calipers to measure the largest diameter of the object you need to cover (often the connector body) and the smallest diameter (the wire itself). Your chosen tubing must have a pre-shrink diameter large enough to slide over the connector, and a post-shrink diameter small enough to create a tight grip on the wire.
- Step 4: Select Your Shrink Ratio. The shrink ratio (e.g., 2:1, 3:1) tells you how much the tube will shrink. A 2:1 tube will shrink to half its original diameter. Pro-tip: A 3:1 or 4:1 ratio offers more versatility and is a safer bet for covering irregularly shaped objects like multi-pin connectors. It provides a more aggressive grip and can accommodate a wider range of sizes with a single tube.
Actionable Guide: Best Practices for Installation
- Prepare the Surface: The area must be clean and dry. Any oil or dirt can compromise the seal of adhesive-lined tubing.
- Cut the Tubing: Cut the piece to length, ensuring it overlaps the connector and wire insulation by at least 1/4 inch (or more for high-voltage) on both ends.
- Position and Heat: Center the tube over the component. Using a professional heat gun (never an open flame like a lighter!), begin applying heat.
- Work From the Center Out: This is the most critical pro-tip for dual wall tubing: Always start heating in the center of the tube and slowly work your way towards one end, then go back to the center and work towards the other end. This technique pushes all the air out from under the tube and ensures the adhesive flows evenly without creating voids. You know you have a perfect, environmentally-sealed connection when you see a small, consistent bead of clear adhesive—what we call a “fillet”—emerge from the ends of the tube.
Real-World Scenarios
Scenario A (Single Wall Success): You’re assembling a wire harness for a new CNC machine. All the wiring will live inside a grounded, sealed control cabinet. Here, single wall tubing is the perfect tool. You can use it to bundle wires neatly, add strain relief to your crimp connections, and color-code the 24VDC, 120VAC, and signal wires for easy future maintenance.
Scenario B (Dual Wall is Non-Negotiable): You’re on a service call to repair a damaged wire on the hydraulic arm of an excavator. The splice will be exposed to constant vibration, pressure washing, grease, and rain. Using single wall tubing here would be professional negligence. It might work for a week, but moisture will eventually get in. The only correct choice is a high-quality, adhesive-lined tube that creates a bomb-proof, sealed connection that will withstand the harsh reality of a construction site.
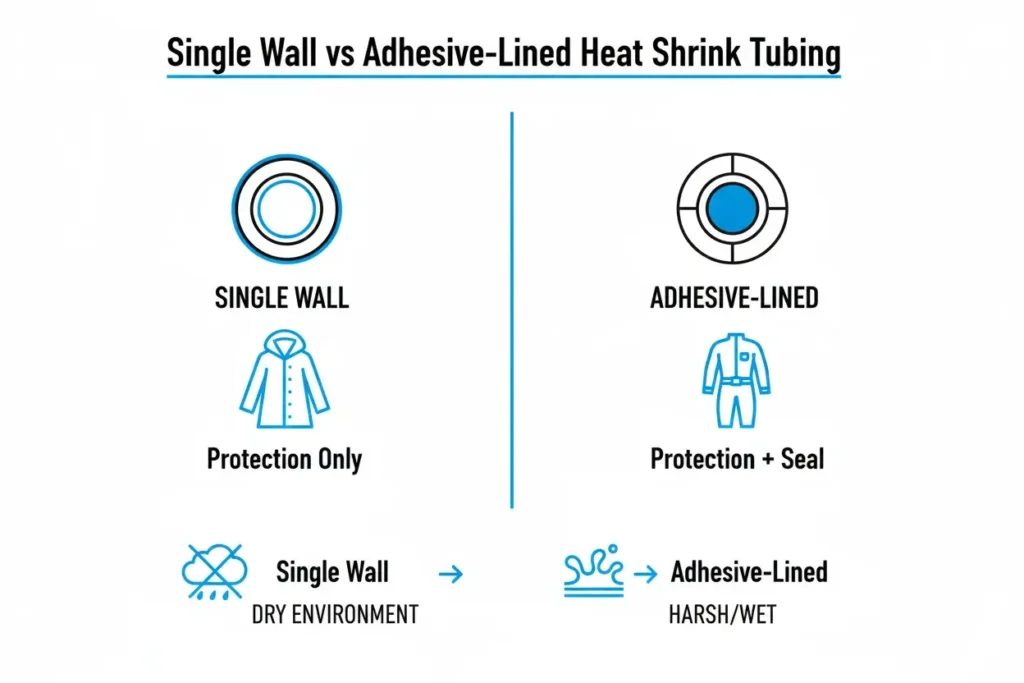
Conclusion: The Right Tool for the Job
At the end of the day, the choice is simple. Single wall tubing is for general-purpose protection. Adhesive-lined tubing is for protection and sealing from the environment. Your application dictates your choice. By taking a moment to consider the environment and applying a professional installation technique, you elevate your work from simply “done” to “done right.” That’s the difference between a quick fix and a reliable, long-term solution.
