
CABLE LUG & CONNECTOR – RELIABLE POWER TERMINATION SOLUTIONS

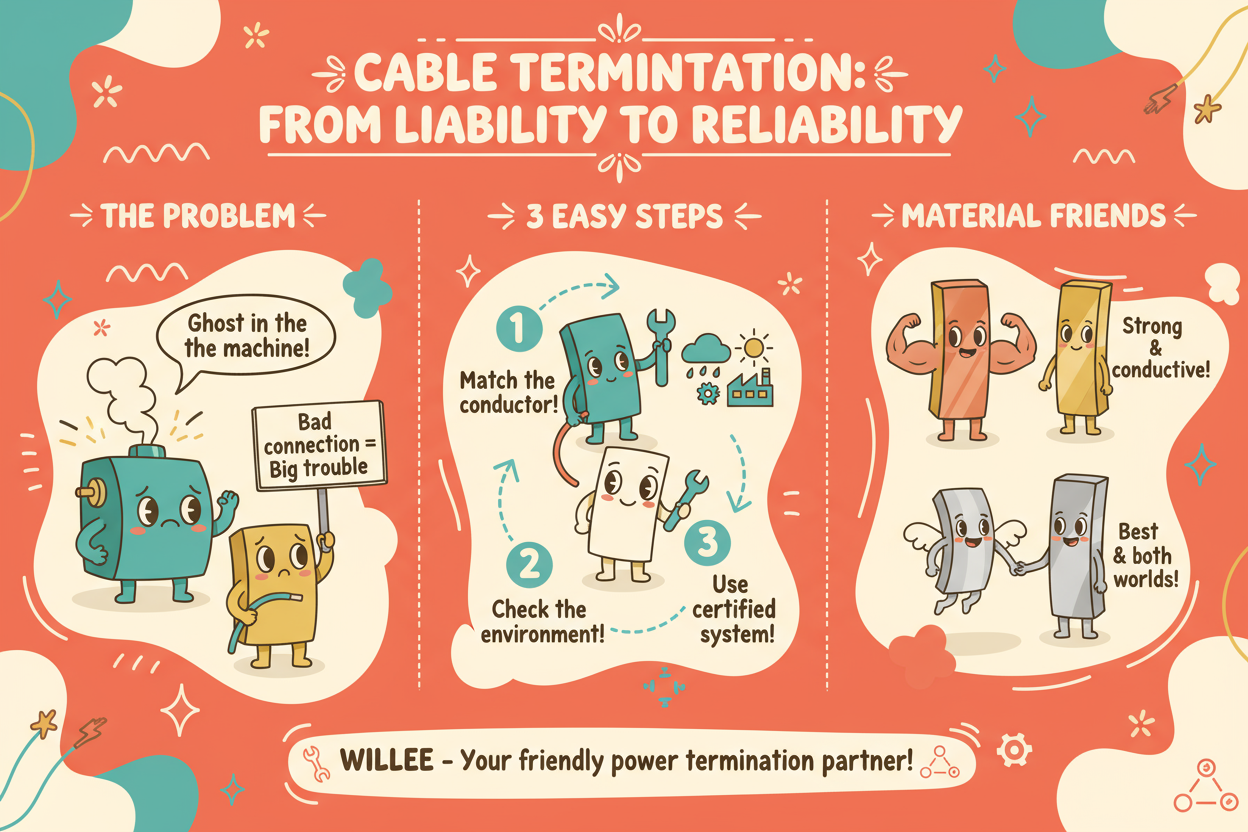
The Ghost in the Machine is Often a Faulty Termination
CABLE LUG & CONNECTOR – RELIABLE POWER TERMINATION SOLUTIONS。 You’ve been there. A critical piece of machinery trips intermittently, halting production. The VFD shows a non-specific undervoltage fault. Maintenance has spent days chasing the issue—checking the motor, swapping sensors, verifying control logic. Yet, the problem persists. This “ghost in the machine” is a costly and frustrating reality in many industrial settings. More often than not, the culprit isn’t a complex component failure, but something far simpler and more insidious: a single, poorly executed cable termination.
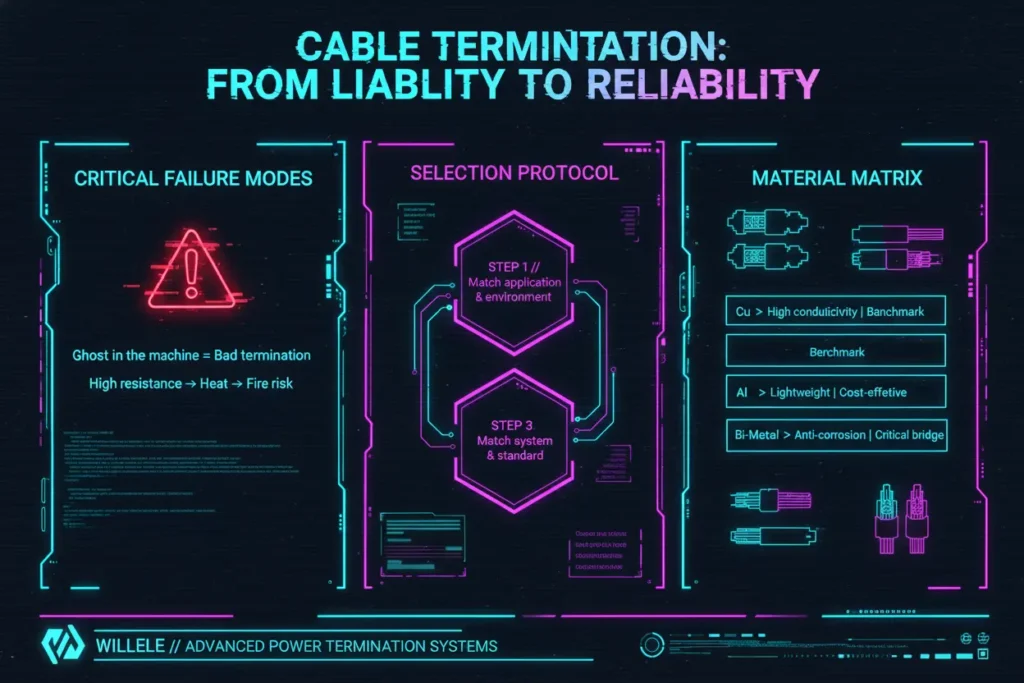
A bad connection, hidden under heat shrink, is a ticking time bomb in your electrical system. It can introduce impedance, generate heat, and create voltage drops that lead to phantom faults and, eventually, catastrophic failure. This guide isn’t about features; it’s about solving this fundamental field problem. It’s a definitive resource for understanding, selecting, and installing cable lugs to create power terminations you can trust.
The High Cost of a “Good Enough” Connection
In the field, it’s tempting to grab whatever lug fits and crimp it with whatever tool is in the truck. This “good enough” approach is one of the most dangerous and expensive habits in our industry. An improper termination creates a point of high resistance. As current flows, this resistance generates heat, which can lead to a cascade of problems including poor thermal management, insulation breakdown, and increased fire risk .
This seemingly small oversight can damage expensive equipment and cause unscheduled downtime. Detecting these faults requires meticulous work with thermal imagers or resistance meters to find the hot spot . The cost of one hour of lost production far outweighs the cost of using the correct components and methods from the start.
A faulty termination isn’t just a bad connection; it’s a latent fire hazard and a point of critical system failure.
Material Matters: Copper, Aluminium, and the Bimetallic Bridge
Selecting the right lug starts with understanding the materials involved. Each has specific properties and use cases that are critical to a reliable connection.
- Copper Lugs: As the industry benchmark, copper offers superior electrical conductivity and mechanical strength . For most industrial applications inside control panels and machinery, bare copper is sufficient. However, in environments with moisture or corrosive elements, tinned copper lugs are essential. The tin plating provides a durable barrier against oxidation, ensuring a long-term, low-resistance connection .
- Aluminium Lugs: Aluminium is lighter and often more cost-effective than copper, making it common in large power distribution cables . Its main challenge is that it instantly forms a hard, insulating layer of aluminum oxide upon exposure to air. This requires special preparation and lugs with a pre-filled oxide-inhibiting compound to break through this layer and establish a solid connection.
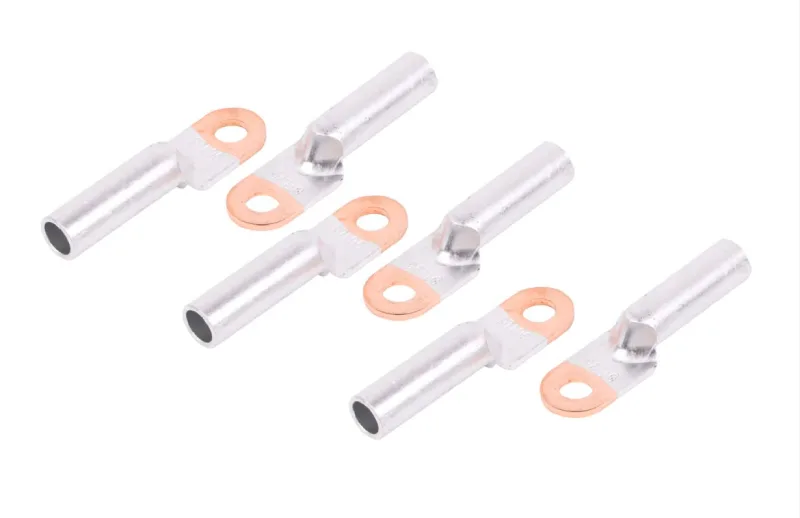
- Bimetallic Lugs: This is where many critical errors occur. Never use a standard copper lug on an aluminium cable. When two dissimilar metals like copper and aluminum are in direct contact with an electrolyte (like moisture in the air), they create a galvanic cell. This leads to rapid corrosion of the aluminum, destroying the integrity of the connection. A bimetallic lug is the essential solution. It features an aluminum barrel to properly connect with the aluminum conductor and a copper palm to safely terminate onto a copper busbar. The two metals are joined using a friction welding process, creating a molecular bond that prevents galvanic corrosion .
Your lug material must be compatible with both the conductor and the termination point to prevent long-term degradation.
The Senior Application Engineer’s Three-Step Selection Method
To move from guesswork to precision, follow this systematic approach for every termination.
Step 1: Match the Conductor & Current
The most basic requirement is ensuring the lug is correctly sized for the cable. Using a lug that is too large for the conductor will result in a poor crimp with voids, leading to high resistance and heat. A lug that is too small will prevent proper insertion or damage the cable strands .
- Cross-Sectional Area: Match the lug’s designated size (e.g., mm² or AWG) to the cable.
- Conductor Type: Be aware if you’re working with flexible (Class 5/6) or stranded (Class 2) conductors, as this may require specific lug types.
- Ampacity: Ensure the lug is rated for the maximum continuous current the system will demand.
Step 2: Match the Application & Environment
Next, consider the physical and environmental demands of the connection point.
- Termination Type: Use ring terminals for secure connections on studs, especially in high-vibration areas like motors or transformers. Fork terminals are suitable for less critical, static applications where easy removal is a benefit .
- Mounting: For heavy cables or high-vibration equipment, two-hole lugs are superior. They prevent the termination from twisting and loosening over time, which is a common failure point for single-hole lugs in demanding applications.
- Environment: As discussed, choose tinned copper or use other protective measures in corrosive or high-moisture environments to prevent long-term degradation .
Step 3: Match the System & Standard
This is the step most often ignored and the single most critical factor for a reliable crimp. You must use a matched system of lugs, crimping dies, and tools from the same manufacturer. Lugs from different manufacturers have varying barrel dimensions and material hardness . Using a tool from one brand with a lug from another is a complete gamble—it will almost certainly result in an over-crimp or under-crimp. A certified system is designed and tested together to comply with rigorous standards like IEC 61238, which defines electrical and mechanical performance.
Selection is a three-part check: match the conductor, the application, and the installation system. Skipping one step invalidates the others.
Mastering the Crimp: Where Quality Becomes Reality
Even with the perfect lug, the connection is only made reliable during installation. The goal of crimping is to compact the conductor and barrel into a solid, homogenous mass, eliminating air voids to ensure maximum electrical conductivity and mechanical strength.
Common installation failures include:
- Under-Crimping: Leaves air voids, resulting in a high-resistance connection that will overheat.
- Over-Crimping: Extrudes the metal, creating “wings” or “ears.” This weakens the barrel and can damage the conductor strands .
- Bad Practices: Field “tricks” like cutting strands to fit an undersized lug or filing off the wings from an over-crimp are malpractice. They compromise the current-carrying capacity and create a guaranteed point of failure .
To perform a perfect, standards-compliant crimp:
- Prepare the Cable: Strip the insulation to a length equal to the lug barrel. Ensure no insulation can be trapped in the crimp.
- Full Insertion: Insert the conductor fully into the barrel. Use the inspection hole to verify its position.
- Use the Matched System: Select the correct die set for the lug size and use the manufacturer-specified tool.
- Crimp Correctly: Position the die on the barrel according to the manufacturer’s marks and perform the compression.
- Inspect: The finished termination should be free of flash or burrs, with the conductor tightly compacted and no insulation trapped.
A certified lug is worthless without a certified crimp. The connection is only as good as its installation.
Conclusion: From Liability to Reliability
Cable terminations are not a commodity; they are a crucial engineering detail that underpins the safety and reliability of your entire electrical system. By abandoning the “good enough” mindset and adopting a systematic approach, you can eliminate one of the most common sources of failure. Select with precision, demand matched, certified systems, and install with care. By elevating your termination standards, you can turn a common liability into a cornerstone of system reliability.
