
Clear Heat Shrink Tube Explained: Materials, Sizes, Applications, and How to Choose

Introduction: The Ghost in the Machine
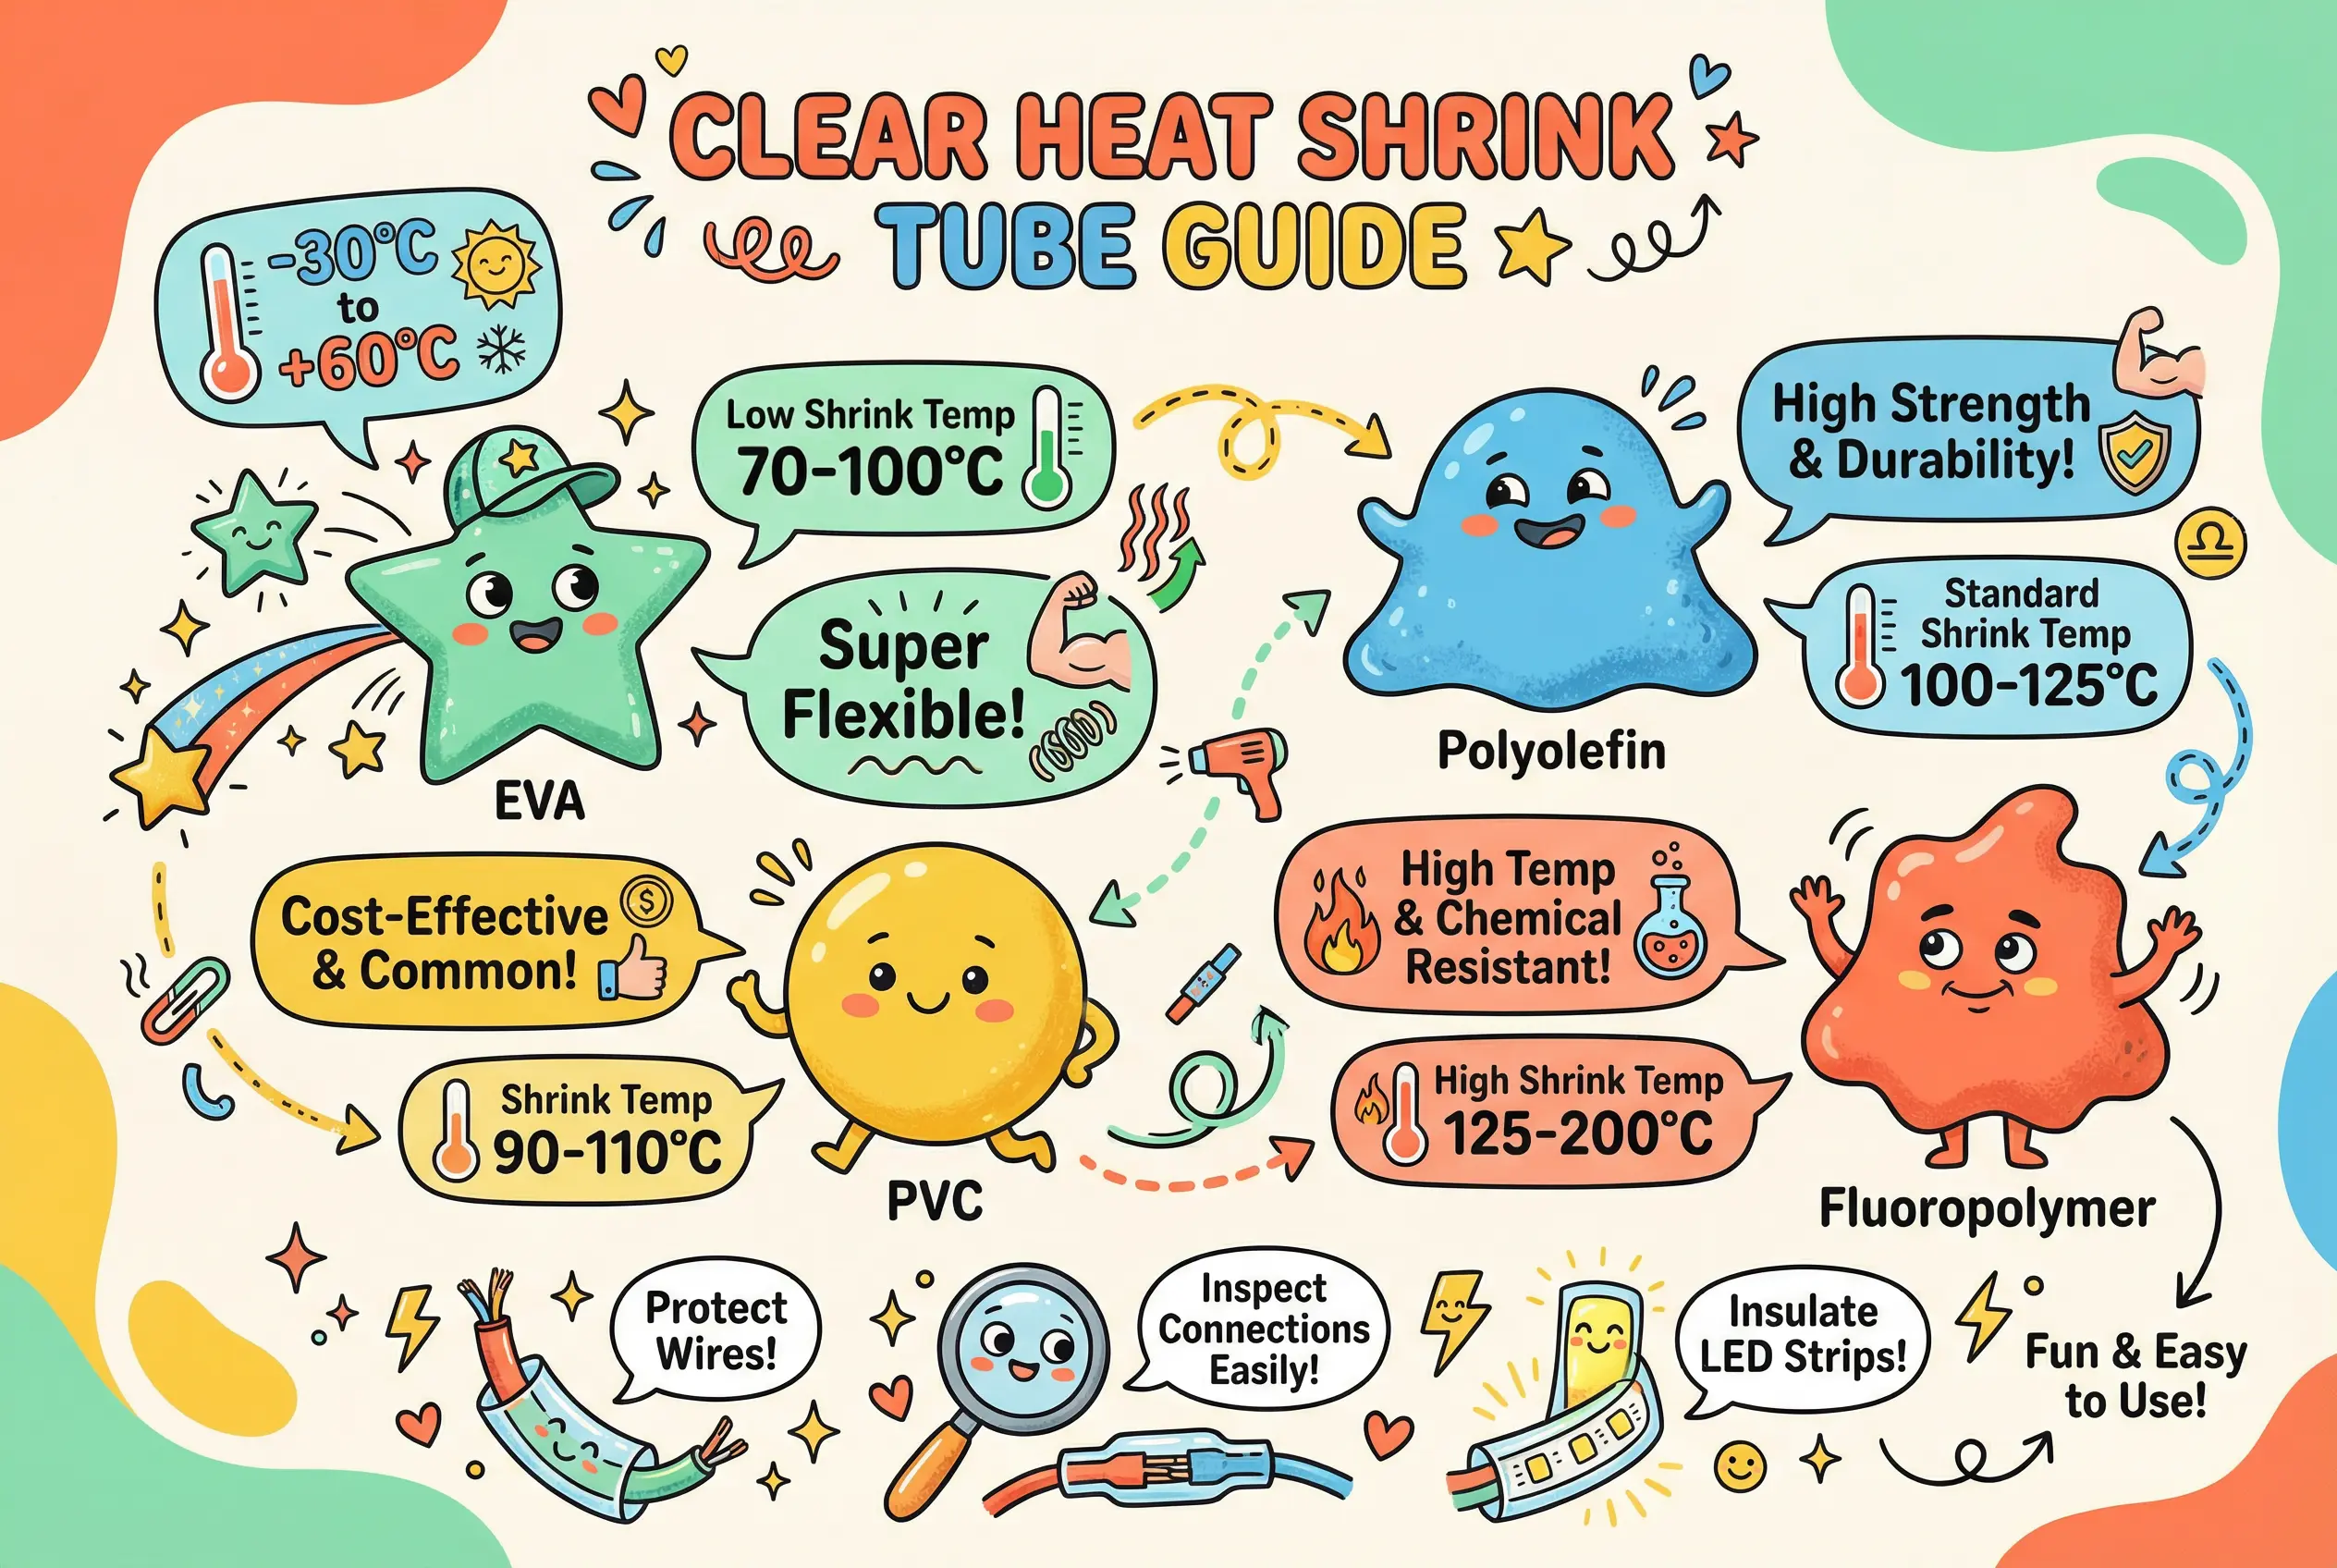
When visual inspection of underlying components is critical, a clear heat shrink tube is the ultimate solution. Whether you need to verify a secure splice, read cable markers, or monitor fluid flow, transparent tubing provides the protection of standard insulation without hiding what’s underneath. This guide explores the materials—including the versatile EVA—and helps you choose the right clear heat shrink for your application.
Chapter 1: The Core Materials – A Clear Difference
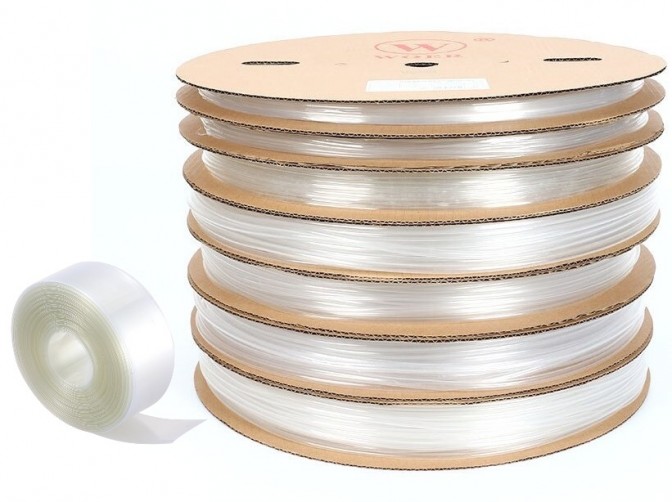
The first and most critical lesson is this: not all “clear” heat shrink is created equal. The term describes a function, not a single material. Choosing the wrong type can lead to a false sense of security, with tubing that yellows, turns cloudy, or fails to provide the necessary protection. The performance of the tube is dictated entirely by its base polymer. Let’s break down the main families you’ll encounter.
Deep Dive into Polymer Families
PVC (Polyvinyl Chloride): The Cost-Effective Workhorse
For many applications where extreme temperatures aren’t a factor, PVC is an outstanding choice. Its primary advantage is its exceptional optical clarity. When you need a truly glass-clear, transparent window over a label or component, PVC is often the best option . It’s vibrant and resists gasoline and oil, making it popular in custom automotive and motorcycle applications.
A key, often overlooked, benefit is that clear PVC is inherently flame retardant, whereas many standard clear polyolefins are not . Its main limitation is temperature; it’s typically rated for continuous operation at 105°C (221°F) or less. But if your application lives within that range, PVC offers the best clarity for the lowest cost.
Polyolefin: The Industry Standard
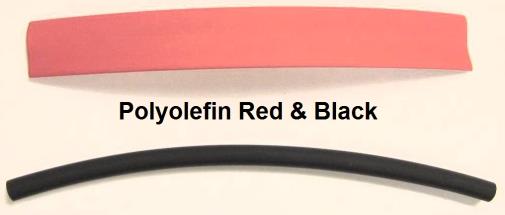
Cross-linked Polyolefin is the most widely used heat shrink material on the planet, and for good reason. It offers a fantastic balance of flexibility, chemical resistance, and a higher temperature rating, commonly in the 125°C-135°C range. However, when it comes to “clear” polyolefin, it’s important to manage expectations. It is more accurately described as “translucent.” It often has a slightly milky or hazy appearance compared to the crystal clarity of PVC. While you can certainly read a label through it, it doesn’t offer that perfect, invisible window. The trade-off, however, is superior temperature performance and excellent durability . For sealing splices, especially with adhesive-lined versions, its robustness is hard to beat.
Fluoropolymers (FEP, PFA, Kynar®/PVDF): The High-Performance Specialists
When you need the absolute best in performance and clarity, you enter the world of fluoropolymers.
- FEP (Fluorinated Ethylene Propylene): FEP is a melt-processible cousin of Teflon™ (PTFE). It offers phenomenal clarity, a very high continuous operating temperature (around 200°C), and is resistant to virtually every chemical you can throw at it. It’s the choice for aerospace, medical, and downhole oil and gas applications where failure is not an option.
- PFA (Perfluoroalkoxy): PFA is similar to FEP but boasts an even higher temperature rating, pushing up to 260°C.
- Kynar® (PVDF): Polyvinylidene Fluoride is known for being exceptionally tough and abrasion-resistant, even at high temperatures. It’s often used as a protective sleeve over sensitive components in punishing environments.
These materials offer the best of all worlds—high clarity, extreme temperature tolerance, and chemical inertness. This performance, as you might expect, comes at a significantly higher cost, often an order of magnitude more expensive than PVC or Polyolefin.
EVA (Ethylene Vinyl Acetate): The WILLELE Advantage
EVA (Ethylene Vinyl Acetate) is WILLELE’s primary material for clear heat shrink tubing. It combines the toughness of polyethylene with the elasticity of vinyl acetate, resulting in a tube that is:
- Exceptionally Flexible: Maintains flexibility even at low temperatures (-30°C).
- High Impact Resistant: Protects against mechanical abuse and vibration.
- Crystal Clear: Superior transparency for reading markers and barcodes.
- Environmentally Friendly: Halogen-free and safe for food contact or medical devices.
Comparison Table: Clear Heat Shrink Materials
To make selection easier, I’ve put together a chart that summarizes the key properties. Think of this as your cheat sheet.
| Feature | PVC (Polyvinyl Chloride) | Polyolefin (Cross-linked) | FEP (Fluoropolymer) | Kynar® (PVDF) | EVA (WILLELE) |
|---|---|---|---|---|---|
| Clarity / Haze | Excellent (Crystal Clear) | Good (Translucent/Hazy) | Excellent (Crystal Clear) | Very Good (Clear) | Excellent (Crystal Clear) |
| Shrink Temperature | ~100°C (212°F) | ~120°C (248°F) | ~205°C (401°F) | ~175°C (347°F) | 70-100°C (158-212°F) |
| Continuous Op. Temp. | up to 105°C (221°F) | up to 135°C (275°F) | up to 204°C (400°F) | up to 175°C (347°F) | -30°C to +60°C (-22°F to +140°F) |
| UV Resistance | Fair to Good | Good (with UV inhibitors) | Excellent | Excellent | Superior |
| Chemical Resistance | Good (oils, some chemicals) | Very Good (common fluids) | Excellent (aggressive chemicals) | Excellent (abrasion resistant) | Good |
| Flexibility | Very Good | Excellent | Good | Fair (Semi-rigid) | Exceptional |
| Flame Retardant (Clear) | Yes | Typically No | Yes | Yes | Yes |
| Relative Cost | $ | $$ | $$$$ | $$$$ | Mid-range |
| Best For | Low-cost harnessing | General insulation | Aerospace | High-performance applications | Medical, Food, Automotive |
Chapter 2: The Engineer’s Guide to Sizing and Selection
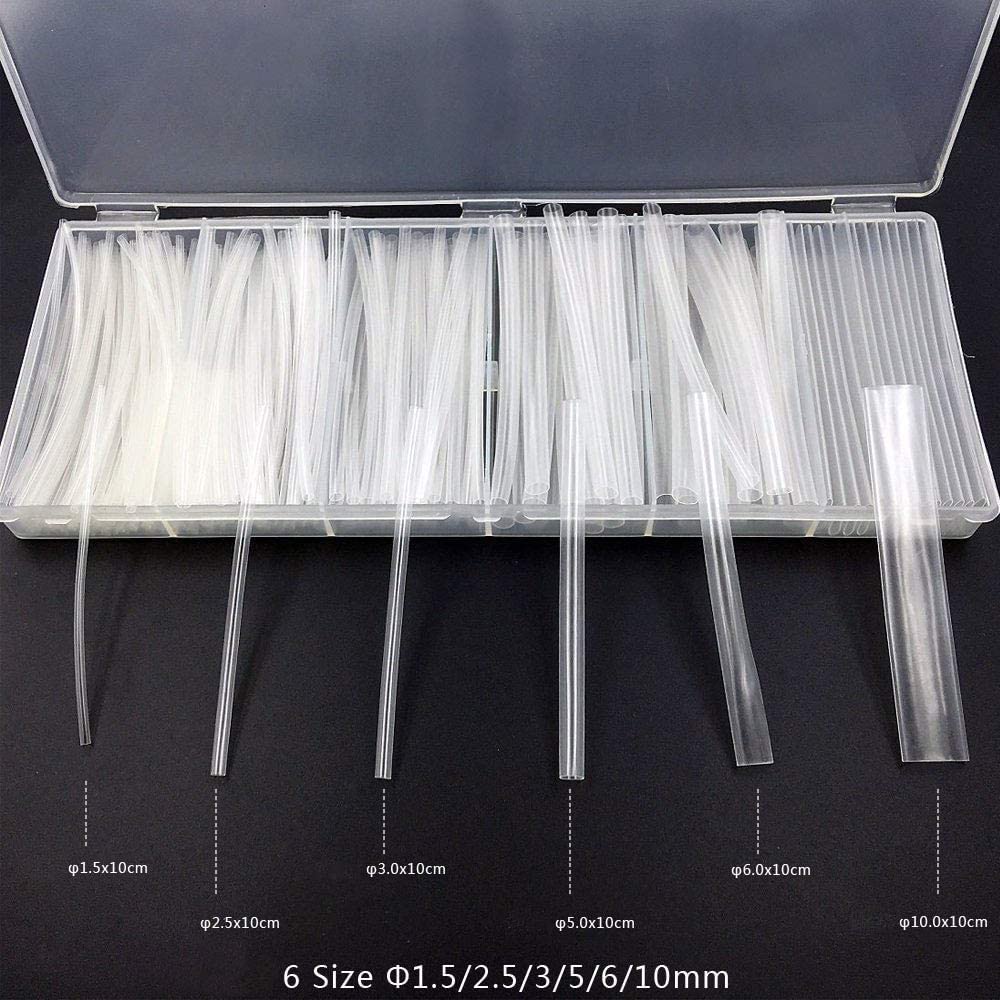
Now that we understand the materials, let’s talk about geometry. Getting the size right is just as important as the material choice. Ordering tubing that’s too small is a frustratingly common mistake, while tubing that’s too big won’t shrink down tightly, compromising the seal and protection. It’s a simple, four-step process.
Step 1: Measure Your Substrate
You need two critical measurements from the object you’re covering:
- Largest Diameter (D_max): This is the maximum dimension the tubing must slide over. This could be the outer diameter of a cable bundle or, crucially, the diagonal of a connector that the tubing has to pass over before it gets to its final position.
- Smallest Diameter (D_min): This is the smallest dimension of the object that needs to be fully encapsulated and sealed by the tubing after shrinking.
Step 2: Expanded vs. Recovered ID
Every heat shrink datasheet specifies two key dimensions:
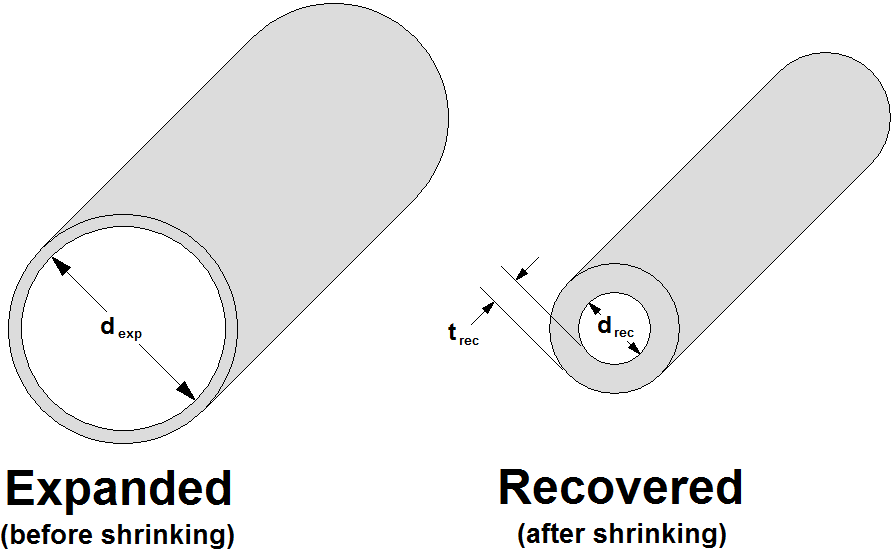
- Expanded Inside Diameter (ID_exp): This is the “as-supplied” inner diameter of the tubing.
- Recovered Inside Diameter (ID_rec): This is the maximum guaranteed inner diameter after the tubing has been fully shrunk.
The rule is simple:
- Your tubing’s Expanded ID (ID_exp) must be larger than your Largest Diameter (D_max). I recommend a 20-25% buffer to slide it on easily without a fight.
- Your tubing’s Recovered ID (ID_rec) must be smaller than your Smallest Diameter (D_min). This ensures a tight, snug fit.
I like to use the analogy of a turtleneck sweater: the opening has to be wide enough to fit over your head (D_max), but the collar must be snug on your neck (D_min) to keep you warm.
Step 3: Understanding Shrink Ratio (2:1, 3:1, etc.)
The shrink ratio simply describes the relationship between the expanded and recovered diameters. A 2:1 ratio tube will shrink to half its supplied size. A 3:1 ratio tube will shrink to one-third its supplied size.
A higher shrink ratio (like 3:1 or 4:1) is fantastic for covering objects with very different diameters, like a connector-to-cable transition. It’s more versatile but also more expensive. For covering a straight splice or a consistent bundle, a 2:1 ratio is usually perfectly sufficient and more economical.
Step 4: The “Gotchas” – Wall Thickness & Longitudinal Shrinkage
Two final details separate the pros from the amateurs:
- Wall Thickness: The wall thickness listed on a datasheet is the nominal recovered wall thickness, meaning the thickness after the tube has fully shrunk. If your object prevents the tube from shrinking all the way down to its maximum recovered ID, the final wall will be thinner than specified. This is critical for high-voltage insulation or high-abrasion applications.
- Longitudinal Shrinkage: As the tubing shrinks in diameter, it will also shrink in length. This is an unavoidable part of the physics. A typical value is 5% to 15% reduction in length. If your application requires a precise cut length, you must account for this. Cut the piece longer than you need, and test a sample to determine the exact shrinkage for your specific application before committing to a large batch.
Selection Process Flowchart
To tie it all together, here is a simple flowchart for your selection process. Follow these steps, and you won’t go wrong.
Chapter 3: From Pellet to Product – How It’s Made
Ever wonder how this “magic” shrinking tube is created? It’s not magic, but a clever bit of polymer engineering. Understanding the process helps you appreciate the quality differences between manufacturers. The process, based on insights from industry experts 4, involves a few key stages.
- Compounding: It all starts with raw polymer resin pellets. These are mixed with additives like plasticizers (for flexibility), UV inhibitors, and flame retardants. For clear tubing, the purity of this initial resin is paramount to the final clarity.
- Extrusion: The compounded pellets are melted and forced through a die, much like squeezing toothpaste from a tube. This forms the tubing in its initial, unshrunk dimension and wall thickness.
- Cross-Linking (The “Memory” Step): This is the most critical stage. The extruded tube is exposed to electron-beam irradiation or a chemical process. This creates powerful bonds between the polymer chains, forming a 3D molecular network. This network is what gives the tubing its “memory.” Without cross-linking, the tube would simply melt when reheated.
- Expansion: The cross-linked tube is then heated to a temperature above its crystalline melting point, turning it soft and rubbery. Compressed air or mechanical force is used to stretch and expand the tube to its final, larger “expanded” diameter.
- Cooling: The tube is rapidly cooled while still in this expanded state. This “freezes” the molecular structure in place, holding the stored energy of the stretched network like a drawn bowstring.
When you, the user, apply heat, you’re providing the energy needed to release that stored memory. The polymer network relaxes, and the tube shrinks back to its original, extruded size, creating that tight, conforming fit.
Manufacturing Process Flowchart
graph TD
    A[1. Raw Polymer Pellets] --> B(2. Compounding: Mixing Resins & Additives);
    B --> C(3. Extrusion: Forming the Base Tube);
    C --> D(4. Cross-Linking: Creating the Molecular 'Memory');
    D --> E(5. Expansion: Heating & Stretching to Final Size);
    E --> F(6. Cooling: Freezing in the Expanded State);
    F --> G[7. Cut, Spool & Package];
Chapter 4: Applications in the Real World
Theory is great, but where does clear heat shrink really shine? Here are a few applications where I’ve seen it make a tangible difference.
Automotive & Transportation: Modern vehicles are a web of complex wiring harnesses. Clear heat shrink is used to permanently protect printed labels on wires and cables from engine oil, transmission fluid, road salt, and abrasion. On a custom motorcycle or hot rod, there’s no better way to protect wiring while maintaining a clean, professional aesthetic than with a sleeve of ultra-clear PVC tubing .
Aerospace & Defense: In an aircraft’s avionics bay, every gram matters, and every connection is critical. Lightweight fluoropolymer heat shrink is used to bundle wires and, more importantly, to protect identifying markers and barcodes on components. This allows for quick visual inspection and replacement, which is invaluable during rigorous maintenance schedules.
Industrial OEM and Automation: Imagine a splice connecting a sensor deep inside a refrigeration unit or a vehicle underbody. It’s exposed to moisture and corrosive agents. An adhesive-lined, clear polyolefin tube not only provides a rugged, waterproof seal but also allows the installer to visually confirm that the adhesive has flowed properly and fully encapsulated the connection, ensuring a perfect, corrosion-proof seal every time 5. This visual confirmation is a massive step up in quality assurance.
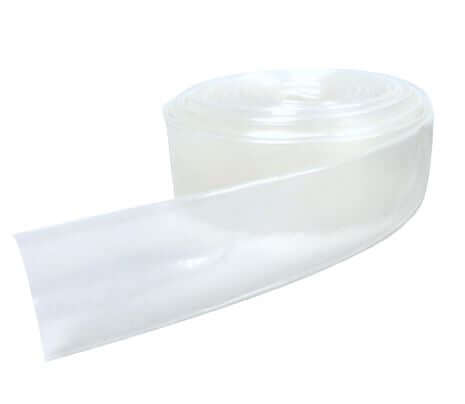
Electronics and Data Centers: In server racks and data closets, clear tubing can be used over bundled CAT6 or fiber optic cables to keep identification labels pristine and scannable without adding bulky clip-on markers that can snag or break.
Chapter 5: A Word of Warning – The Perils of Cheap Alternatives
I want to add a personal note of caution. In a world of globalized supply chains, it can be tempting to source the lowest-cost components. With clear heat shrink, this is a gamble you don’t want to take. I’ve seen firsthand the results of using cheap, off-brand “clear” tubing that fails spectacularly in the field.
The most common failure mode is the tubing turning opaque, milky, or yellow the moment you heat it 1. This completely defeats the purpose of using a clear sleeve and can be a disaster if it happens after the component is installed in a larger assembly. It’s often caused by impure base resins, incorrect additives, or an improper cross-linking process. The result is a component that’s now unidentifiable, requiring you to cut off the sleeve and start over—if you’re lucky. If not, the component is already buried deep inside the final product.
Here are your key takeaways to avoid this nightmare:
- Always Test a Sample: Before you commit to a production run, get samples. Shrink them over the exact labels and components you plan to use. See how they look. Try to scratch them. Expose them to the chemicals they’ll see in real life.
- Check the Material Specs: Don’t just trust the word “clear.” Verify the material (PVC, Polyolefin, FEP) and ensure its temperature rating and properties match your application’s needs.
- Buy from a Reputable Supplier: A good supplier will have detailed datasheets, provide material certifications, and stand behind their product’s quality. This isn’t the place to save a few pennies, because the cost of failure is immensely higher.
Conclusion & Key Takeaways
Clear heat shrink tubing is more than just a piece of plastic; it’s a strategic tool for enhancing the long-term reliability, serviceability, and safety of any electrical or mechanical assembly. By protecting critical information from the harsh realities of the operating environment, you are saving future technicians—and maybe even your future self—from the nightmare of troubleshooting an anonymous system.
Remember the fundamentals: choose your material based on temperature and clarity needs, measure carefully to ensure a perfect fit, and always source from a quality supplier. Investing a little more time and effort upfront will pay massive dividends over the life of your product.
Frequently Asked Questions (FAQ)
Q1: What’s the best way to heat the tubing for maximum clarity?
A: A calibrated industrial heat gun is always the best tool. Start from the middle of the tubing and work your way out to the ends. This pushes any trapped air out instead of creating bubbles in the middle. Avoid using a lighter or a torch, as the uncontrolled, high temperature can easily scorch, burn, or yellow the tubing.
Q2: Can I use clear heat shrink outdoors?
A: Yes, absolutely, but your material choice is critical. For outdoor applications, you must select a material that is specifically rated for UV resistance. Many fluoropolymers (like FEP and Kynar®) have inherent UV resistance. For polyolefins, you’ll need to ensure the specific compound you’re buying includes UV inhibitors in its formulation. Standard PVC may become brittle over time with constant sun exposure.
Q3: Why did my clear tubing turn yellow or cloudy?
A: This usually points to one of two problems. First, you may have overheated it. Every material has a maximum temperature, and exceeding it can cause it to discolor. Second, and more commonly, it’s a sign of a low-quality product that uses impure resins or improper additives. Refer back to Chapter 5—always test your samples!
Q4: Is clear tubing as strong as opaque tubing?
A: Generally, yes. For a given material family (e.g., polyolefin), the mechanical properties like tensile strength and abrasion resistance are determined by the base polymer, not the color. The pigments used in colored tubing do not typically add significant strength. A clear Kynar® tube will be vastly stronger than a black PVC tube, for example. Compare datasheets for the same material if this is a critical concern.
Q5: What’s the most common mistake you see people make?
A: Without a doubt, incorrect sizing. The most frequent error is measuring only the wire bundle and forgetting about the bulky connector the tube has to slide over first. This leads to frustration, torn tubing, and wasted time. Always identify the single largest point of passage (your D_max) and size your expanded ID to clear it comfortably.
