
Waterproof WIRE NUT USUAGE

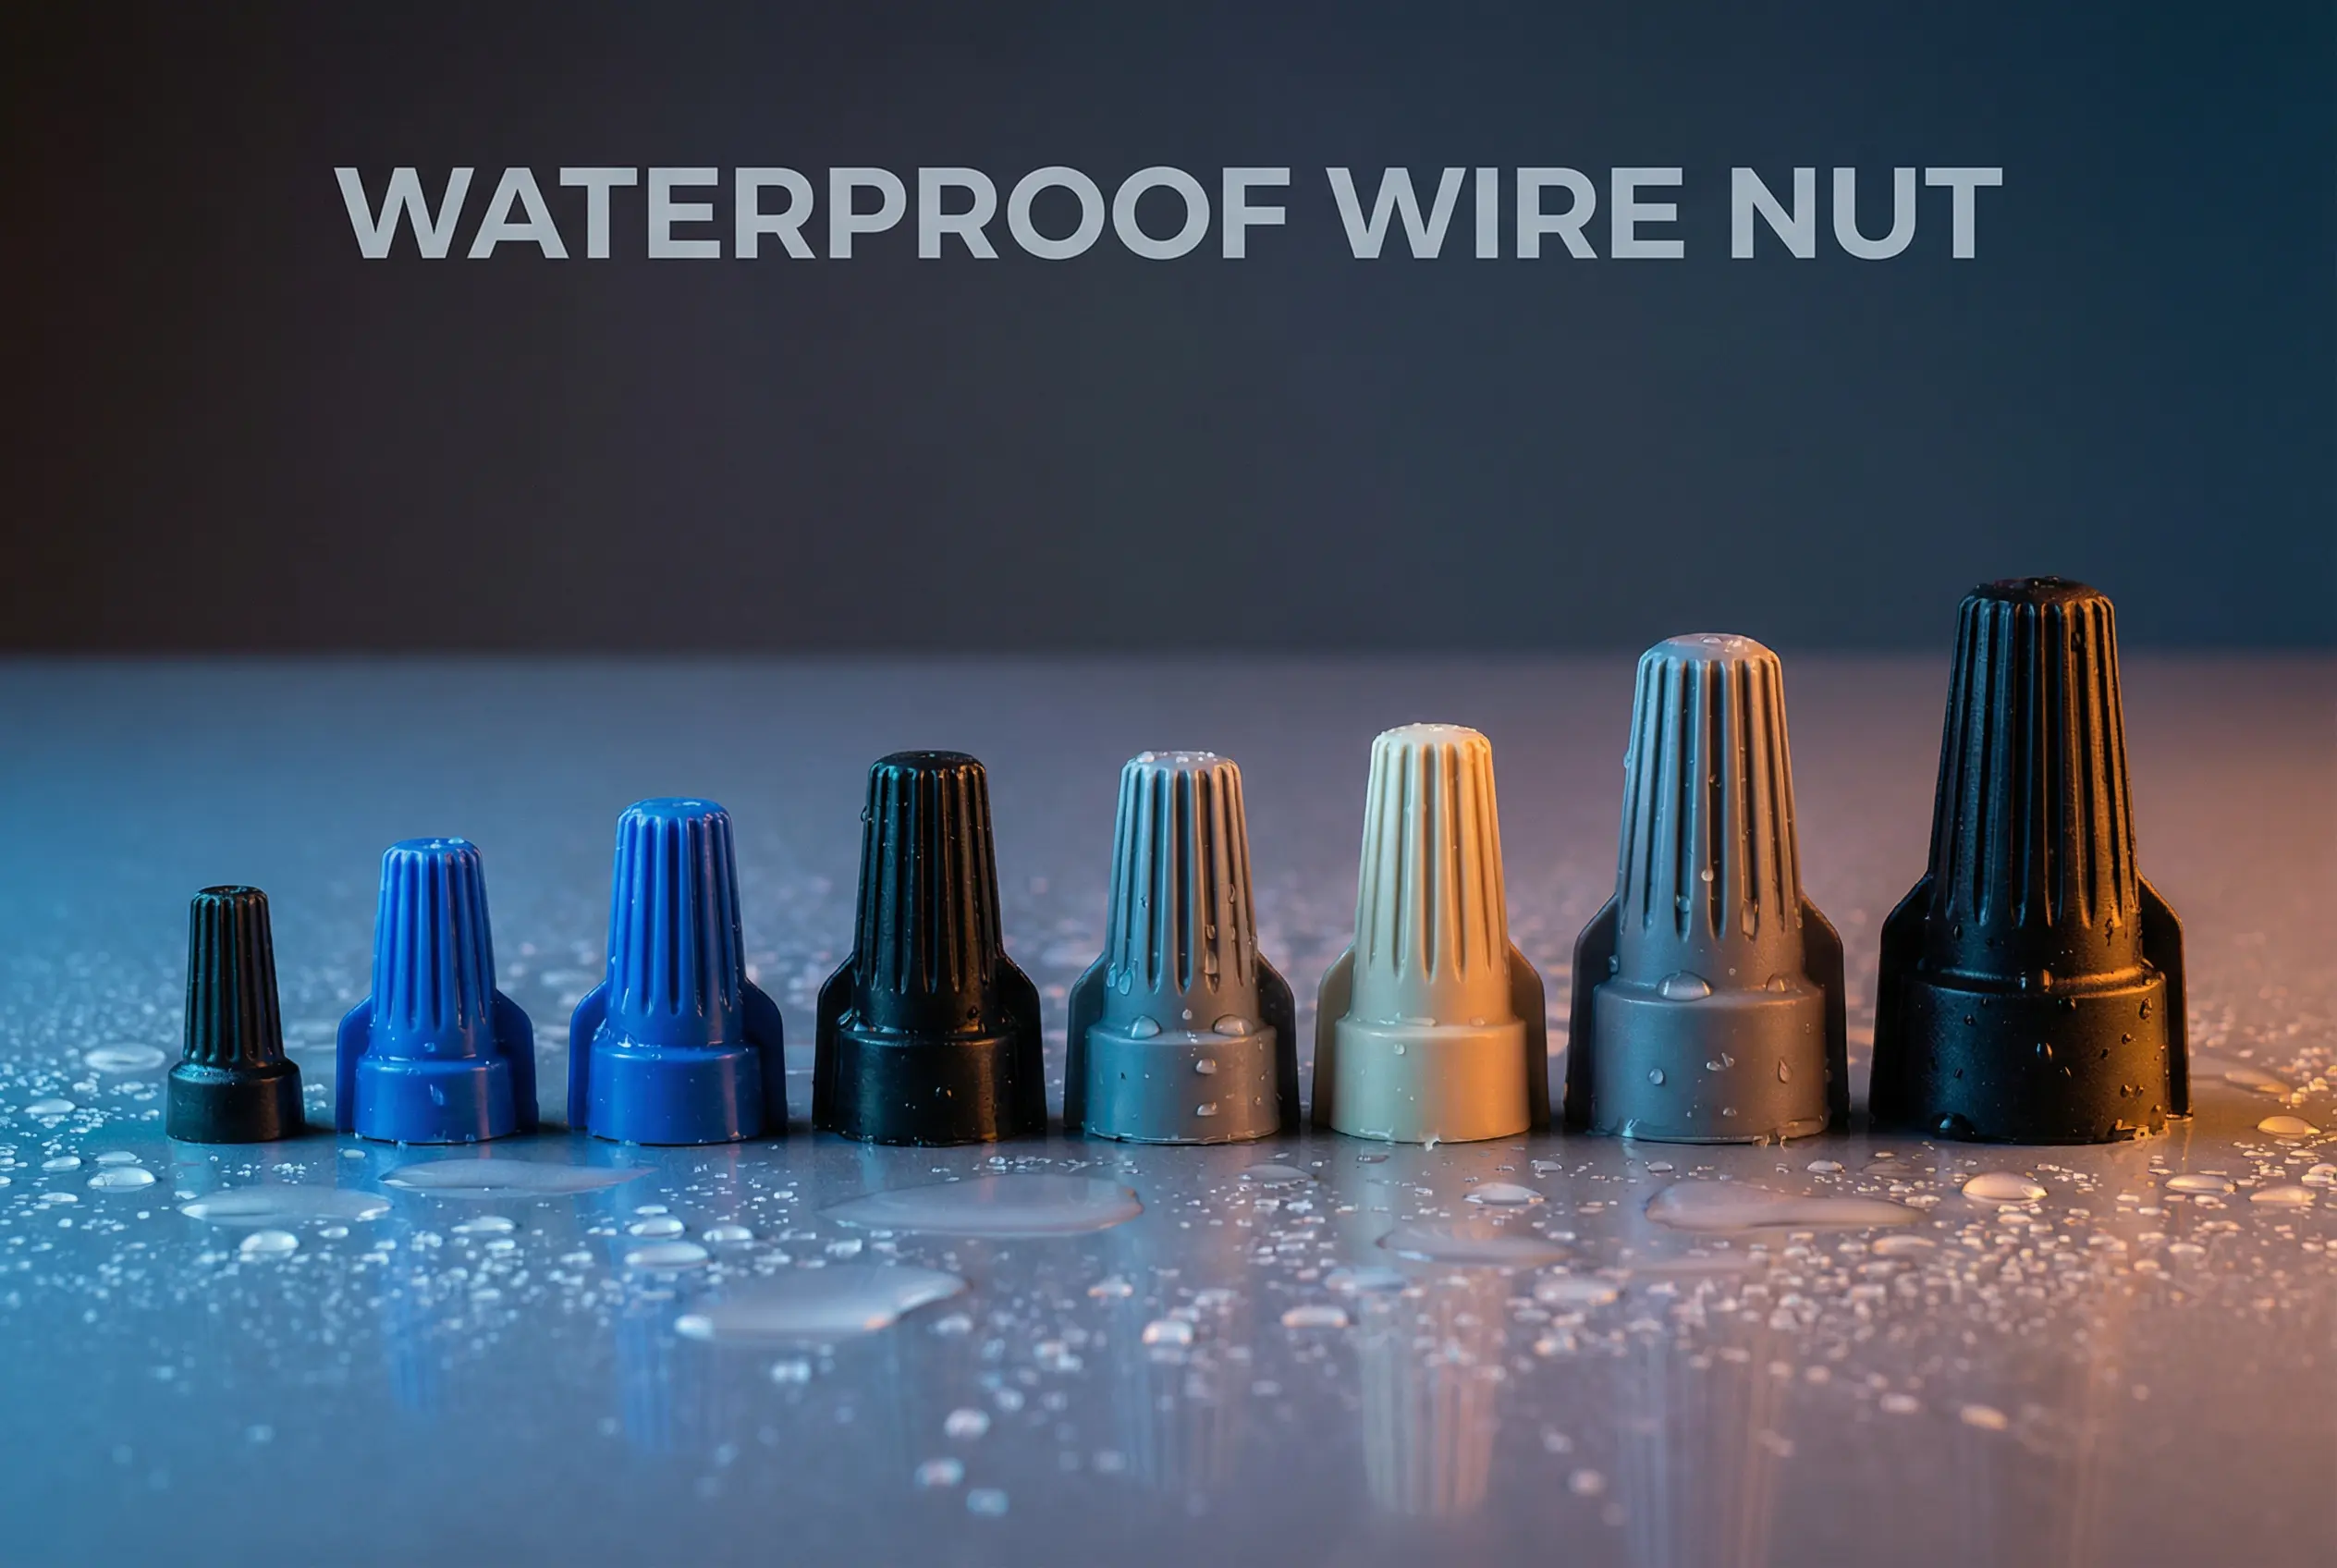
Waterproof WIRE NUT USUAGE ?The 2 AM Callback: Why Your Outdoor Connections Are Failing
It’s a story I’ve heard a hundred times. A high-end landscape lighting system, installed just six months ago, is on the fritz. Half the pathway lights are dead, a custom water feature is dark, and the client is, to put it mildly, displeased. You get the 2 AM call because a storm just rolled through and now their multi-thousand-dollar investment looks like a graveyard of good intentions. You arrive on site, open the first junction box, and see it: a corroded, discolored wire nut, with a tell-tale trickle of rusty water weeping from its base. The connection failed. And it was completely avoidable.
For over 15 years as a Senior Application Engineer, I’ve seen more field failures than I can count, and the vast majority of them in outdoor and wet environments trace back to one tiny, overlooked component: the wire connector. Engineers and installers spend fortunes on IP-rated fixtures and heavy-duty cable, only to have the entire system brought down by a ten-cent wire nut that was never designed to see a single drop of moisture. It’s a frustrating, expensive, and reputation-damaging mistake.
This isn’t just about bad luck; it’s about bad science. Standard wire nuts are designed for the pristine, climate-controlled environment inside a wall. Outdoors, they are fighting a losing battle against a relentless enemy: water. Moisture, condensation, and humidity will inevitably find their way into any unprotected connection. Once inside, galvanic corrosion begins its destructive work, resistance climbs, and the connection overheats until it ultimately fails. This article is my attempt to end that cycle of failure. We’re going to go deep on the definitive solution: the waterproof wire nut. This is the masterclass I wish I had when I started—a complete guide to understanding, selecting, and installing these critical components to build electrical systems that last. Do it right, and you’ll never get that 2 AM callback again.
Waterproof vs. Standard Wire Nuts: A Head-to-Head Technical Breakdown
To appreciate the solution, you must first respect the problem. The difference between a standard wire nut and its waterproof counterpart is not just a feature; it’s a fundamental shift in engineering philosophy. One is designed for convenience in a dry location, the other for survival in a hostile one.
A standard wire nut relies solely on the friction and pressure of its internal spring to hold wires together and a plastic cap to prevent accidental contact. It offers zero protection against the environment. A waterproof wire nut, however, is an integrated system designed to create a fully encapsulated, environmentally sealed connection.
Here’s a direct comparison of their specifications:
| Feature | Standard Wire Nut | Waterproof Wire Nut |
|---|---|---|
| Moisture Protection | None. Open to moisture, humidity, and condensation. | Fully sealed with silicone or dielectric gel. |
| Sealant | None | Pre-filled, non-hardening silicone/dielectric gel. |
| Housing Material | Basic thermoplastic (PVC, nylon). | UV-stabilized, high-impact polycarbonate or polypropylene. |
| IP Rating | Not Rated | Typically IP65, IP67, or IP68. |
| Temperature Range | Approx. 221°F (105°C) max. | -40°F to 400°F (-40°C to 204°C). |
| Corrosion Resistance | Low. Copper is exposed to environmental oxygen. | High. Gel displaces all air and moisture from conductors. |
| Reusability | Debatable, but often reused. | Single-use only. Seal is compromised upon removal. |
| Cost | $0.05 – $0.25 each | $0.50 – $2.00 each |
| Primary Application | Dry, indoor locations only (junction boxes, light fixtures). | Wet locations, direct burial, outdoor, marine, industrial. |
The most critical differentiator is the Ingress Protection (IP) rating. This two-digit number is the universal standard for defining how well an enclosure protects against solids (first digit) and liquids (second digit). For outdoor work, this is non-negotiable.
| IP Rating | Solids Protection (First Digit) | Liquids Protection (Second Digit) | Practical Application |
|---|---|---|---|
| IP65 | 6 (Dust Tight) | 5 (Protected against water jets from any angle) | Junction boxes in damp locations, areas protected from rain but subject to spray (e.g., covered porches, industrial washdowns). |
| IP67 | 6 (Dust Tight) | 7 (Protected against temporary immersion up to 1 meter for 30 mins) | Most landscape lighting, shallow junction boxes, irrigation systems where temporary flooding is possible. |
| IP68 | 6 (Dust Tight) | 8 (Protected against continuous, long-term immersion under pressure) | Required for direct burial. Pool/spa lighting, marine applications, any connection that will be permanently submerged or underground. |
Key Takeaway: Choosing a wire connector is not about saving a few dollars. It’s about matching the engineering of the component to the hostility of the environment. Using a non-rated connector outdoors is a guarantee of future failure.
The Anatomy of a Bulletproof Connection: Material Science & Engineering
To truly trust a component, you need to understand its design from the inside out. A waterproof wire nut isn’t just a standard nut filled with grease; it’s an engineered system where each material plays a critical role in ensuring a permanent, reliable connection.
1. The Shell: Your First Line of Defense
The outer casing of a quality waterproof connector is typically molded from a robust thermoplastic like UV-stabilized polycarbonate or high-impact polypropylene. Unlike the simple plastic on an indoor nut, this material is chosen for specific reasons:
- UV Resistance: Standard plastics become brittle and crack when exposed to sunlight. A UV-stabilized shell maintains its integrity and impact resistance for years, even in direct sun.
- Impact Strength: The shell needs to withstand accidental shovel strikes during landscaping or being stepped on in a construction environment. Polycarbonate offers exceptional durability.
- Temperature Stability: These materials won’t deform in the summer heat or become brittle and crack in freezing winter temperatures, ensuring the seal remains intact across a wide operational range.
2. The Sealant: The Heart of the System
This is the magic. The inside of the connector is pre-filled with a non-conductive, non-hardening, viscous silicone or dielectric gel. When you twist the connector onto the wires, this gel is forced into and around the wire strands, creating a perfect seal. Its properties are crucial:
- Dielectric: It’s an electrical insulator, preventing arcing or shorting between conductors if a stray strand gets loose.
- Moisture Displacing: The gel physically displaces all air and moisture from the connection point. Without oxygen and water, galvanic corrosion simply cannot occur. This is the primary mechanism that protects the copper.
- Non-Hardening: The gel remains pliable for its entire life. It flexes with the wires as they expand and contract with temperature changes (thermal cycling), never cracking or pulling away from the conductors. This is analogous to the adhesive lining in high-quality heat-shrink tubing, which flows and bonds to create a permanent environmental seal.
3. The Spring: The Mechanical and Electrical Bite
Inside the shell and surrounded by gel sits the connector’s engine: a square-wire spring.
- Mechanical Grip: The sharp edges of the square-profile wire bite into the copper conductors, creating an incredibly secure mechanical connection that resists vibration and pull-out forces.
- Electrical Path: This spring creates a low-resistance, high-pressure electrical contact point, ensuring a safe and efficient flow of current. The combination of the spring’s bite and the gel’s encapsulation creates a connection that is both mechanically and electrically superior to a simple twisted-and-taped splice.
Key Takeaway: Every part of a waterproof wire nut—from the UV-resistant shell to the pliable gel to the sharp-edged spring—is deliberately engineered to defeat the three primary enemies of outdoor electrical connections: moisture, corrosion, and temperature fluctuation.
Field Applications: Where Waterproof Connectors are Non-Negotiable
Theory is great, but a Senior Engineer lives in the real world. Here are the specific applications where using anything less than a high-quality, appropriately IP-rated waterproof wire nut is professional negligence.
- Landscape & Irrigation Systems: This is the most common failure point. Connections are either directly buried or sit in valve boxes that regularly fill with water, dirt, and debris. Soil itself is corrosive and holds moisture.
- Challenge: Constant moisture, soil acidity, insect intrusion, and potential for shovel strikes.
- Requirement: IP68-rated, direct-burial connectors are mandatory for any underground splice. The gel provides a critical barrier against both water and the corrosive minerals found in soil.
- Marine & Automotive: Salt is the ultimate accelerator of corrosion. In a marine environment, saltwater spray or bilge water can destroy a standard connection in weeks.
- Challenge: Highly corrosive saltwater, constant vibration, extreme temperature swings from engine heat.
- Requirement: Gel-filled connectors are essential. The dielectric gel not only blocks moisture but also coats the copper, preventing the rapid oxidation caused by salt exposure. The secure mechanical grip of the spring is also vital to resist loosening from engine or wave-induced vibration.
- Pools, Spas, and Water Features: This is a zero-tolerance environment. Electrical safety around water is paramount, and NEC regulations are extremely strict.
- Challenge: Chlorinated or treated water, constant submersion, strict code compliance.
- Requirement: Per NEC Article 680, all connections in wet-niche fixtures must be encapsulated. An IP68 waterproof connector is the most reliable way to meet this requirement, ensuring a permanent, watertight seal for pumps, lights, and sensors.
- Exterior Construction (GFCI Outlets, Outdoor Kitchens): Any electrical box mounted on the exterior of a building is considered a “wet location” by the NEC. Even with a “weatherproof” in-use cover, condensation and driving rain can introduce moisture.
- Challenge: Condensation from temperature changes, exposure to driving rain, high humidity.
- Requirement: NEC 110.11 and 300.5(B) require wet-location rated connectors. Using waterproof wire nuts inside outdoor junction boxes prevents failures from condensation, which can trip GFCIs or lead to corrosion over time.
- Industrial Washdown & Agricultural: Food processing plants, car washes, and agricultural facilities use high-pressure water jets for cleaning.
- Challenge: High-pressure water spray, chemical cleaning agents, high humidity.
- Requirement: An IP67-rated connector is the minimum. It can withstand powerful water jets from any direction, and the robust shell and chemical-resistant gel will protect the connection from harsh cleaning solutions.
Pro-Tip: Don’t just think about rain. Think about condensation. As temperatures fluctuate, air inside a conduit or junction box will release its moisture. Over time, this is enough to cause a standard connector to fail. If the location is outdoors, it needs a waterproof connector. Period.
The Masterclass: A Step-by-Step Installation Guide
A perfect component can still fail if installed incorrectly. I’ve seen it happen. Follow this process exactly, and your connections will be bulletproof.
Step 0: Preparation & Safety
Before you do anything else, be a professional.
- Turn Off the Power: De-energize the circuit at the breaker.
- Verify: Use a non-contact voltage tester to confirm the wires are dead. Never trust a breaker label alone.
- Gather Your Tools: You’ll need high-quality wire strippers, lineman’s pliers (for straightening), your waterproof wire nuts, and safety glasses.
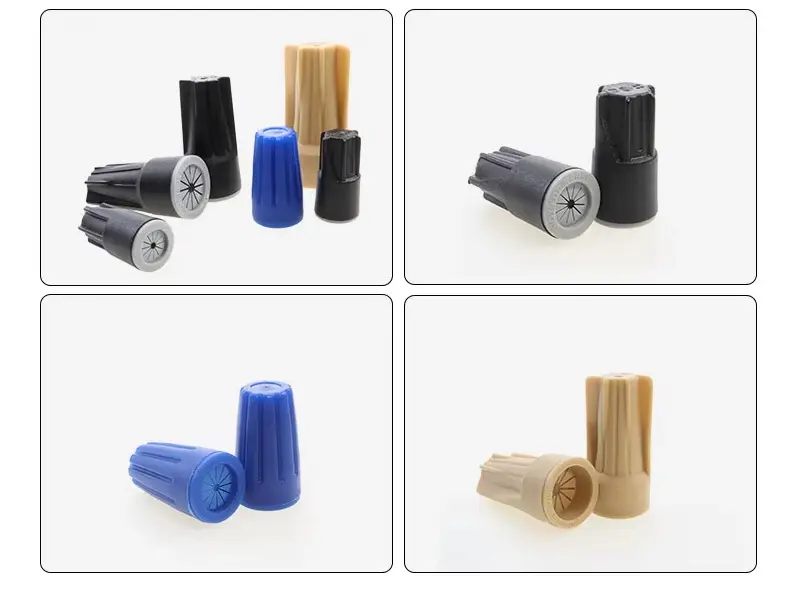
Step 1: Sizing the Connector
Choosing the right size is critical. A connector that’s too small won’t fit. One that’s too big won’t create a secure connection.
- Read the Package: The manufacturer’s packaging provides a detailed chart listing the approved combinations of wire gauges and quantities. Do not rely on color alone, as color codes can vary between brands.
- Example: If you are connecting three 14 AWG wires, the package might specify a Blue/Orange connector rated for (2-4) #14 wires.
- Pro-Tip: When in doubt between two sizes for a specific combination, always choose the larger connector. An undersized nut is a major fire hazard.
Step 2: Wire Preparation
Perfect preparation leads to a perfect connection.
- Strip Length: Strip approximately 1/2″ to 5/8″ (1.3cm to 1.6cm) of insulation from each wire. Refer to the connector packaging for the exact length.
- Inspect the Wires: Ensure the copper conductors are clean, straight, and un-nicked. If the wires are old or bent, use your pliers to straighten the ends.
Step 3: The Connection – THE MOST IMPORTANT STEP
This is where most installers, even experienced ones, get it wrong.
- DO NOT PRE-TWIST THE WIRES. I cannot emphasize this enough.
- Why? The goal is for the silicone gel to fully encapsulate each individual conductor. When you pre-twist, you create a tight bundle that the gel cannot penetrate. The outer wires get sealed, but the inner wires remain exposed to any air and moisture trapped inside the bundle. The internal spring is designed to do the twisting.
- The Correct Method: Align the stripped ends of the wires so they are flush and parallel. Hold them together firmly. [1]
Step 4: Twisting & Sealing
With the wires held parallel, you are ready to complete the connection.
- Push the wires firmly into the waterproof connector. You should feel them hit the back of the connector.
- Begin twisting the connector clockwise. You will feel the internal spring bite into the wires and draw them together.
- Continue twisting until the connector is “fingertight” and you feel firm mechanical resistance. The wires outside the nut should begin to twist together.
- Visual Confirmation: A properly seated connection will show a small, visible bead of the silicone sealant at the base of the nut. This is your proof that the connector is full and the connection is environmentally sealed.
Step 5: The Tug Test
Your final quality check.
- Gently but firmly tug on each individual wire. They should not move or pull out. A secure wire nut will hold each conductor firmly in place. If any wire is loose, remove the connector (and discard it—it’s single-use) and repeat the process from Step 2 with a new connector.
Staying Compliant: Navigating the NEC for Wet & Buried Connections
A professional installation is a code-compliant installation. The National Electrical Code (NEC) is very clear about protecting electrical connections in hostile environments. Ignoring these rules is a serious liability.
- NEC Article 110.11 – Deteriorating Agents: This article mandates that equipment shall be “identified for use in the operating environment.” This is the foundational rule: if you have moisture, you need equipment (including connectors) rated for it.
- NEC Article 300.5 – Underground Installations: This is the critical section for any buried wire.
- (B) Wet Locations: It states that all conductors and cables in a wet location must be listed for that use. This explicitly requires wet-location rated connectors even if they are inside a “waterproof” junction box, as condensation can still form.
- NEC Article 680 – Swimming Pools, Spas, Fountains: This article has extremely strict requirements. Any connection for wet-niche underwater luminaires must be encapsulated in a listed potting compound. A high-quality IP68 waterproof wire nut is an accepted and reliable method for achieving this.
Direct Burial Depth Requirements
The NEC specifies minimum burial depths to protect wiring from physical damage. These are crucial for any landscape or underground project.
| Cable/Conduit Type | Minimum Burial Depth | Notes |
|---|---|---|
| Low-Voltage Landscape Wiring (<30V) | 6 inches (15 cm) | Must be supplied by a listed low-voltage transformer. |
| Rigid Metal Conduit (RMC) | 6 inches (15 cm) | The conduit itself provides significant physical protection. |
| PVC Conduit | 18 inches (45 cm) | The standard for most residential and commercial underground circuits. |
| Underground Feeder (UF) Cable (Direct Burial) | 24 inches (60 cm) | When no conduit is used, the cable must be buried deeper for protection. Can be 18″ if GFCI protected. |
Pro-Tip: Always call 811 before you dig. It is a legal requirement in most areas. Hitting a buried utility line is dangerous, expensive, and completely avoidable. Map your route and have existing lines marked before a shovel ever touches the ground.
Field Engineer’s FAQ
I get asked these questions all the time. Here are the straight answers.
- Can you reuse waterproof wire nuts?
No. They are single-use only. Once you remove the connector, the silicone gel is compromised and will not form a perfect seal a second time. Trying to save a dollar here will cost you hundreds in callbacks. - Do I really need waterproof nuts inside a waterproof junction box?
Yes, absolutely. As stated in NEC 300.5(B), the interior of an outdoor junction box is still a wet location due to condensation. I have seen countless failures inside “sealed” boxes where standard wire nuts corroded from the humidity alone. - What happens if I use a wire nut that’s too small?
This is a serious fire hazard. An undersized nut creates a loose connection. This high-resistance point generates immense heat, which can melt the wire insulation and the connector itself, leading to arcing and fire. - Can I mix different wire gauges in one connector?
Yes, but only if that specific combination is explicitly listed on the manufacturer’s packaging. For example, “(1) 12 AWG + (2) 14 AWG” must be an approved combination. Never assume it will work. - What’s the difference between “waterproof” and “direct burial” rated?
All direct burial connectors are waterproof, but not all waterproof connectors are rated for direct burial. “Direct burial” (DB) is a specific, more rigorous rating (typically IP68) that ensures the connector can withstand constant contact with soil and long-term submersion. For any splice that will be underground, you must use a connector explicitly listed for direct burial.
Conclusion: Do It Right, Do It Once
In our industry, reputation is everything. It’s built on reliability, and reliability is built on attention to detail. The choice of a wire connector may seem like a small detail, but in any outdoor or wet environment, it is the detail that matters most. The cost difference between a standard wire nut and a high-quality waterproof wire nut is less than a cup of coffee. The cost of a failed system—in time, money, and reputation—can be immense.
By investing in the right component, understanding the science behind it, and following a meticulous installation process, you are not just making a connection. You are building a system that is robust, safe, and permanent. You are providing a service that your clients can trust. You are ensuring that you will never have to roll a truck at 2 AM for a problem that should have been solved on day one. Do it right, do it once, and build it to last.
