What is Heat Shrink Tubing and How It Works
What is Heat Shrink Tubing? The Complete Answer
Heat shrink tubing is a thermoplastic sleeve that shrinks radially when heated, creating a custom-molded protective barrier around electrical connections, splices, and components. Think of it as industrial-grade shrink-wrap packaging—the kind used on consumer products—but engineered to electrical and environmental specifications. Just as shrink-wrap conforms perfectly to any shape when heated, heat shrink tubing wraps itself tightly around cables, connectors, and terminals. But instead of protecting retail goods, it’s protecting your electrical infrastructure from the three silent killers: moisture, abrasion, and mechanical stress.
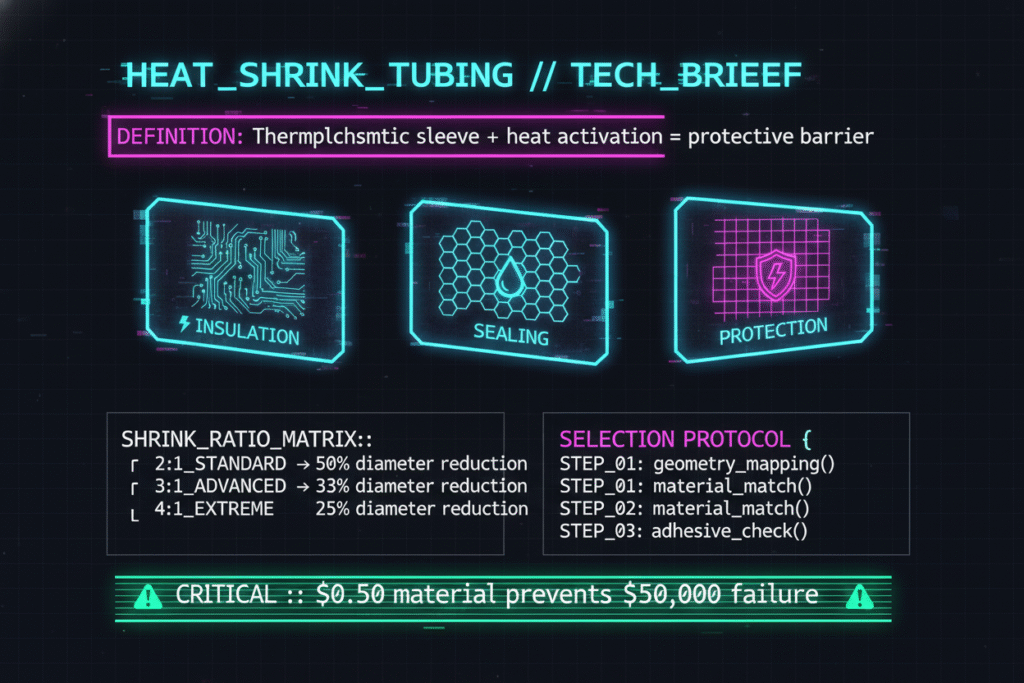
When properly selected and installed, heat shrink tubing provides three critical protective functions:
- Electrical Insulation: It restores the dielectric barrier over splices, terminations, and exposed conductors, preventing shorts and leakage currents.
- Environmental Sealing: It creates a barrier against moisture, dust, chemicals, and contaminants that cause corrosion and failure.
- Mechanical Protection & Strain Relief: It reinforces the weakest point in any cable assembly—the transition zone where the cable enters a connector or splice—preventing conductor breakage from repeated flexing or vibration.
Key Takeaway: Heat shrink tubing is not just insulation tape’s fancy cousin—it’s a precisely engineered polymer that creates a permanent, conforming seal that tape, electrical putty, or standard insulation can never match.
Why Engineers Need Heat Shrink Tubing: The $50,000 Failure
Here’s why this seemingly simple product matters so much in industrial applications:
It’s 3 AM, and the production line is down. After hours of troubleshooting, you trace the fault to a critical control cabinet exposed to the elements. Inside, a multi-pin connector—the one that links the main PLC to a vital sensor array—has failed. The culprit? Moisture. Water wicked its way into the back of the connector, corroding the pins and shorting the connection. Production is halted, costs are mounting, and the fix would have cost less than a dollar in materials.
I’ve seen this scenario play out dozens of times in my 15 years in the field. Engineers spec rugged industrial connectors rated for harsh environments. They invest in premium cable with thick jackets. But they leave the most vulnerable point—the cable-to-connector transition—completely exposed. This is where insulation terminates, where mechanical stress concentrates, and where moisture finds its easiest path to destruction.
The irony? The solution to prevent this costly failure is one of the simplest, most reliable technologies in electrical engineering. It’s been around since 1962, costs pennies per connection, and yet remains misunderstood by many engineers who should know better.
How Does Heat Shrink Tubing Work? The Science Made Simple
The “magic” behind heat shrink tubing lies in a manufacturing process called cross-linking. Here’s what happens:
Step 1: Cross-Linking Creates “Structural Memory”
Standard polymer tubing (usually polyolefin) is extruded and then bombarded with high-energy radiation—typically electron beams. This radiation creates strong covalent bonds between the polymer chains, forming a stable three-dimensional molecular network. Think of it like weaving individual threads into a fabric—the material becomes much stronger and gains what engineers call “structural memory.”
Step 2: Expansion and Freezing
The cross-linked tubing is heated to just above its crystalline melting point and mechanically expanded to a larger diameter—often 2 to 4 times its original size. While in this stretched state, it’s rapidly cooled. This “freezes” the polymer chains in their expanded configuration, like a coiled spring that’s been stretched and held in place.
Step 3: Heat Activation by the End User
When you apply heat with a heat gun (typically 90°C to 200°C depending on the material), you’re releasing that stored elastic energy. The polymer chains “remember” their original, smaller, cross-linked size and snap back, shrinking the tubing tightly around whatever it’s covering. The cross-linking prevents the material from melting—it only shrinks.
Key Takeaway: Heat shrink tubing is essentially a frozen spring. When you heat it, the spring releases and returns to its original shape, creating a tight, permanent fit that conforms to any geometry.
Understanding Shrink Ratios: What the Numbers Actually Mean
When you look at heat shrink specifications, you’ll see ratios like 2:1, 3:1, or 4:1. These numbers tell you how much the tubing can shrink from its expanded (as-supplied) diameter to its recovered (fully shrunk) diameter.
2:1 Ratio: The Standard Workhorse
- Shrinks to half its original diameter
- Example: 10mm expanded diameter → 5mm recovered diameter
- Best for: Uniform objects like wire splices, simple cable jackets, or components with minimal size variation
- Cost: Most economical option
3:1 Ratio: The Connector Specialist
- Shrinks to one-third its original diameter
- Example: 12mm expanded diameter → 4mm recovered diameter
- Best for: Connectors and terminals where the backshell is much larger than the cable
- Advantage: Greater flexibility to accommodate irregular shapes
4:1 Ratio: The Extreme Shape Solution
- Shrinks to one-quarter its original diameter
- Example: 20mm expanded diameter → 5mm recovered diameter
- Best for: Complex geometries with large size differences, such as multi-pin connectors transitioning to small-gauge wires
- Use case: Harsh environments requiring maximum sealing capability
Key Takeaway: Higher ratios give you more “forgiveness” in covering objects with large diameter differences. A 4:1 tube can fit over a large connector body and still shrink tightly onto a small cable—something a 2:1 tube could never achieve.
Your Three-Step Selection Guide
Selecting the right heat shrink tubing is the most critical decision. A wrong choice is as bad as using none at all. Here’s the systematic method I use to get it right every time.
Step 1: Match the Shrink Ratio to Your Geometry
Measure twice, order once. Use calipers to determine:
- The largest diameter the tubing must fit over (usually a connector body or splice barrel)
- The smallest diameter it must grip tightly after shrinking (usually the cable jacket)
Selection Rule: Choose a tubing where:
- The expanded diameter is at least 20% larger than your largest component (for easy installation)
- The recovered diameter is at least 10% smaller than your smallest component (for tight grip)
For connectors with significant size transitions, a 3:1 or 4:1 ratio is the professional’s choice. For simple wire-to-wire splices, a 2:1 ratio is adequate and more economical.
Step 2: Select Material for Your Environment
Not all heat shrink is created equal. The base polymer determines performance limits:
Polyolefin (Most Common)
- Operating range: -55°C to +135°C
- Excellent flame retardancy and general-purpose insulation
- Resistant to: Common solvents, mild acids, moisture
- Use for: 90% of industrial electrical applications
PVC (Budget Option)
- Operating range: -20°C to +105°C
- Lower cost, lower temperature rating
- Use for: Indoor, low-stress applications where cost is critical
Fluoropolymers (FEP, PTFE, PVDF)
- Operating range: -55°C to +200°C (PTFE even higher)
- Superior chemical inertness, near-zero moisture absorption
- Resistant to: Aggressive chemicals, high temperatures, UV radiation
- Use for: Aerospace, chemical processing, high-temperature industrial environments
Key Takeaway: Material choice determines your temperature ceiling and chemical resistance. If your application sees temperatures above 135°C or exposure to aggressive chemicals, fluoropolymer is not optional—it’s mandatory.
Step 3: Add Adhesive Lining for Environmental Sealing
Standard heat shrink provides insulation and mechanical protection, but it doesn’t create a hermetic seal. For true environmental protection, you need dual-wall or adhesive-lined tubing.
This tubing has an inner layer of thermoplastic adhesive (usually polyamide or EVA-based) that melts as the outer tube shrinks. The adhesive flows into microscopic gaps, bonds to both the underlying component and the cable jacket, and creates a permanent, waterproof seal.
When Adhesive Lining is Essential:
- Outdoor installations exposed to rain or humidity
- Underground or direct burial applications
- Marine or subsea environments
- Chemical processing plants
- Anywhere moisture ingress would cause catastrophic failure
Key Takeaway: If your component will be exposed to moisture, dust, or corrosive atmospheres, adhesive-lined tubing is not a luxury—it’s the minimum requirement for long-term reliability. Don’t gamble with a few dollars in savings when a field failure costs thousands.
Installation: The Right Way vs. The Catastrophic Way
Even the best heat shrink tubing in the world will fail if installed incorrectly. Here’s what separates professionals from amateurs:
The WRONG Way (That Everyone Tries Once):
- Using a cigarette lighter or butane torch for heat
- Problem: Uneven, uncontrolled heat creates hot spots that can melt the tubing or damage the wire insulation beneath. Carbon deposits from the flame contaminate the surface.
- Heating only one side or spot
- Problem: Creates air pockets and voids that allow moisture infiltration and reduce mechanical strength.
The RIGHT Way (That Always Works):
- Use an industrial heat gun with adjustable temperature control
- Set temperature: 20-30°C above the tubing’s shrink temperature (check the datasheet)
- Pro Technique: Start heating in the middle of the tube and work your way toward both ends simultaneously. This drives trapped air out rather than sealing it in.
- Keep the heat gun moving in a circular motion around the tubing to ensure even shrinkage
- Continue until the tubing is fully conformed with no visible gaps or wrinkles
For adhesive-lined tubing, you’ll see the adhesive melt and flow out slightly at both ends—this is your visual confirmation of a proper seal.
Key Takeaway: The best heat shrink tubing in the world will fail if installed with a lighter or uneven heating. Invest in a proper heat gun (they cost less than one field service call) and take the time to do it right. Your connections will be bulletproof for decades.
Conclusion: From Understanding to Action
You now have a complete understanding of what heat shrink tubing is and how to deploy it effectively in your electrical systems. We’ve covered the fundamental definition—a cross-linked thermoplastic sleeve with structural memory—explored the science behind how it shrinks when heated, and walked through a systematic three-step selection process that ensures you choose the right ratio, material, and sealing capability for your specific application.
This knowledge transforms heat shrink tubing from a mysterious black box into a predictable, reliable engineering tool. Whether you’re protecting a critical PLC connection in a food processing plant, sealing sensor wiring on an offshore platform, or simply creating durable wire splices in an automation panel, you now understand exactly which specifications matter and why. The difference between a connection that lasts decades and one that fails catastrophically often comes down to spending an extra thirty seconds selecting the correct tubing and two minutes installing it properly.
The return on investment is undeniable. A few cents of material and a few minutes of your time can prevent thousands—or tens of thousands—of dollars in production downtime, emergency service calls, and component replacement. More importantly, it prevents the reputation damage that comes from fielding unreliable systems. Apply what you’ve learned here, follow the structured selection method, and use proper installation technique with a controlled heat source. Your connections will outlast the equipment they protect.
Key Takeaway: Heat shrink tubing is not a commodity—it’s an insurance policy. Now that you understand what it is, how it works, and how to choose it correctly, you have the knowledge to make every electrical connection in your systems as robust and reliable as the components they connect. Use it.
