
Wire Nut Gauge Compatibility Chart and Guide

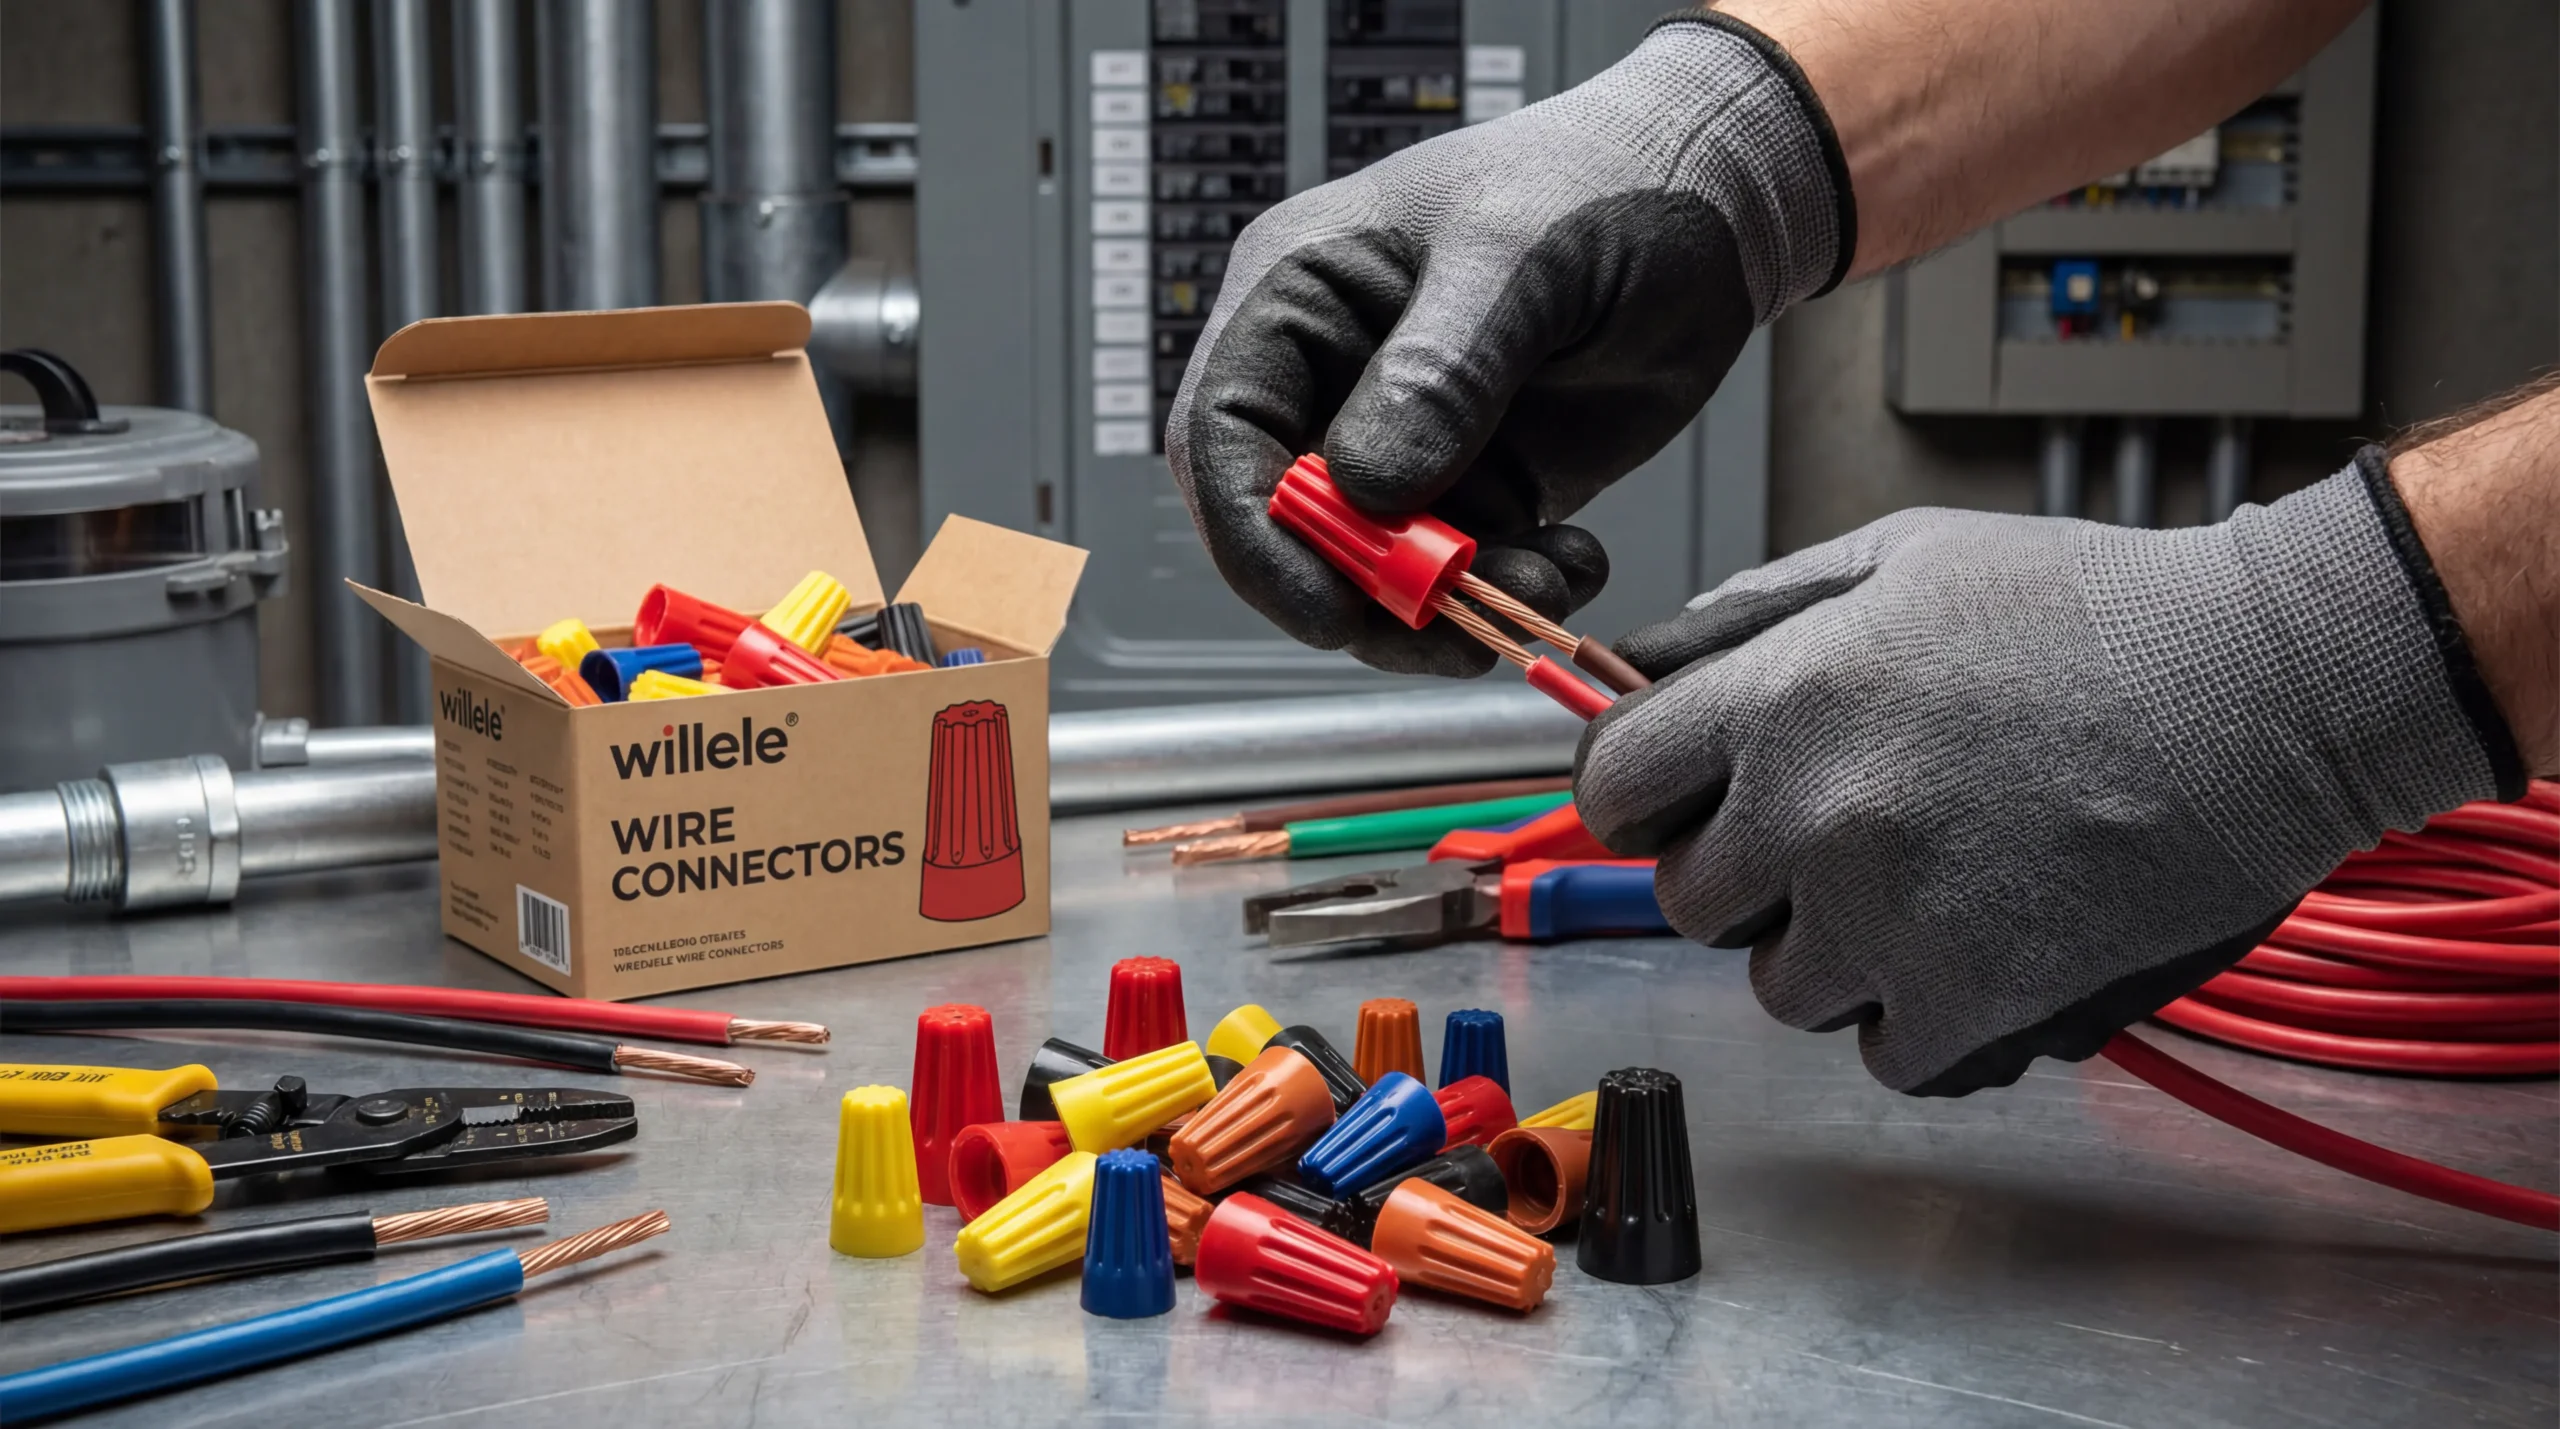
In the complex world of electrical installations, the integrity of a system often comes down to its smallest components. Among these, the humble twist-on wire connector—commonly known as a wire nut—plays a pivotal role. For professionals in the electrical and industrial sectors, understanding the Wire Nut Gauge Compatibility Chart and Guide is not just a matter of convenience; it is a fundamental requirement for safety and code compliance.
At willele Electric, we specialize in manufacturing high-performance electrical equipment, including heat shrink solutions that often complement wire termination. This guide provides a comprehensive breakdown of wire nut sizing, color coding, and installation best practices to ensure your connections are secure, durable, and compliant with international standards.
Understanding Wire Nut Color Codes and Sizing
One of the most immediate identifiers for wire nuts is their color. While it might seem like a simple organizational tool, the color coding of wire connectors follows a quasi-standardized system in the industry indicating their size and capacity.
Using the correct size is crucial. A connector that is too large will not grip the wires securely, leading to loose connections and potential arcing. Conversely, a connector that is too small cannot accommodate the wire bundle, causing physical stress and potential breakage.
Wire Nut Color Code Standard Reference
The following table outlines the general industry standards for wire nut colors and their typical capacity ranges. Note that specific capacities can vary slightly by manufacturer.
| Color Code | Size Category | Minimum Capacity | Maximum Capacity | Typical Application |
|---|---|---|---|---|
| Grey | Tiny | 2 x #22 AWG | 2 x #16 AWG | Low-voltage wiring, device bonding. |
| Blue | Small | 2 x #22 AWG | 3 x #16 AWG | Ballast wiring, control circuits. |
| Orange | Medium-Small | 1 #18 + 1 #20 | 4 x #16 AWG / 2 x #14 | Light fixtures, outlets. |
| Yellow | Medium | 2 x #18 AWG | 3 x #12 AWG | General residential/commercial wiring. |
| Red | Large | 2 x #14 AWG | 4 x #10 AWG | Heavy-duty circuits, large appliances. |
| Blue (Large) | Extra Large | 3 x #12 AWG | 1 #6 + 2 #8 AWG | Industrial feeders, heavy motors. |
AWG Wire Gauge Basics
To effectively use a Wire Nut Gauge Compatibility Chart and Guide, one must have a solid grasp of the American Wire Gauge (AWG) system. The AWG system is counter-intuitive to the uninitiated: the larger the number, the smaller the wire diameter.
- #14 AWG: Common in residential lighting circuits (15 Amp).
- #12 AWG: Standard for commercial outlets and residential appliances (20 Amp).
- #10 AWG: Used for water heaters, dryers, and air conditioning units (30 Amp).
AWG Wire Gauge Size Reference
| Gauge (AWG) | Diameter (mm) | Cross-Section Area (mm²) | Typical Ampacity (Copper) |
|---|---|---|---|
| 18 AWG | 1.02 mm | 0.82 mm² | 14 Amps (Fixture wire) |
| 16 AWG | 1.29 mm | 1.31 mm² | 18 Amps |
| 14 AWG | 1.63 mm | 2.08 mm² | 15 Amps |
| 12 AWG | 2.05 mm | 3.31 mm² | 20 Amps |
| 10 AWG | 2.59 mm | 5.26 mm² | 30 Amps |
| 8 AWG | 3.26 mm | 8.37 mm² | 40-55 Amps |
The Definitive Wire Nut Gauge Compatibility Chart
Determining the right connector involves calculating the total cross-sectional area of the wire combination. Manufacturers test and list specific combinations (e.g., “Two #12 wires with one #14 wire”).
Below is a visual guide and a detailed chart to help you select the correct connector for your specific wire combination.

Main Wire Nut Gauge Compatibility Chart
Note: “Min” and “Max” refer to the wire combinations the nut is rated to hold securely.
| Connector Color | Common Wire Combinations (Min) | Common Wire Combinations (Max) | Voltage Rating |
|---|---|---|---|
| Grey | 2 x #22 | 2 x #16 | 300V |
| Blue (Small) | 2 x #22 | 3 x #16 | 300V |
| Orange | 3 x #22 | 2 x #14 | 600V |
| Yellow | 2 x #18 | 3 x #12 | 600V |
| Red | 2 x #14 | 5 x #12 | 600V |
| Winged/Big Blue | 3 x #12 | 2 x #6 | 600V |
Internal Anatomy and Mechanics
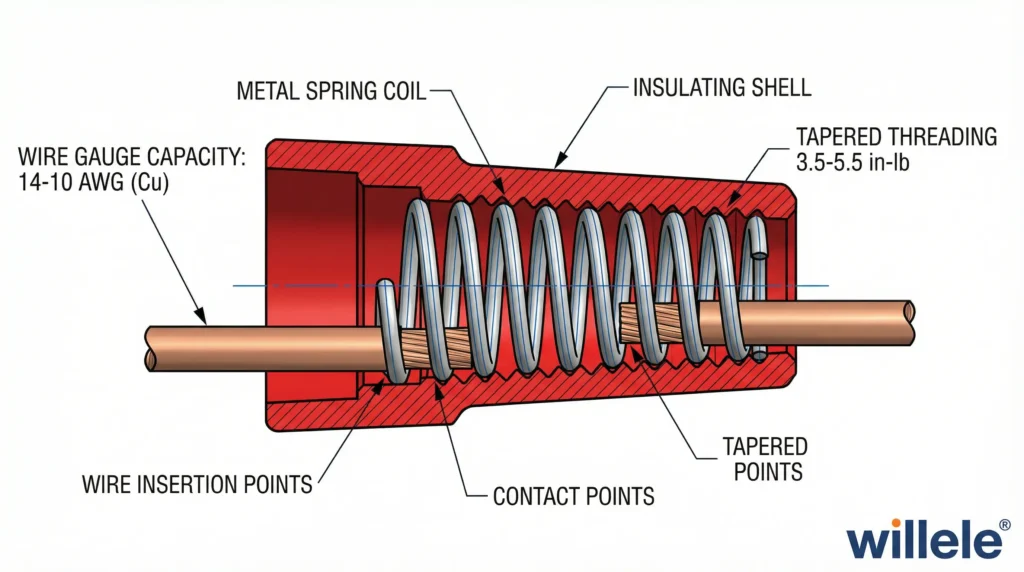
Understanding how a wire nut works helps explain why gauge compatibility is so critical. A high-quality wire nut consists of two main parts: the insulating shell and the internal spring.
The internal square-wire spring is the key component. As you twist the connector, the spring cuts into the copper conductor, creating a mechanical thread and drawing the wires deeper into the nut. This action compresses the wires together, creating a gas-tight electrical connection.
Step-by-Step Installation Guide
Proper installation is as important as proper selection. Follow these steps to ensure a secure connection:
- Turn Off Power: Always de-energize the circuit before working on any electrical connections.
- Strip Wires: Strip the insulation off the wires to the length recommended by the manufacturer (usually 1/2 inch to 3/4 inch). Ensure the strip length is consistent across all wires in the bundle.
- Align Wires: Hold the stripped ends together so they are even. You do not generally need to pre-twist the wires, as the wire nut is designed to twist them, but some electricians prefer pre-twisting for larger bundles.
- Insert and Twist: Push the wires into the connector and twist the nut clockwise.
- Tighten: Continue twisting until the connector is tight and you feel the wires twisting around each other outside the nut.
- The Pull Test: Give each individual wire a gentle tug to ensure it is securely gripped by the internal spring.
- Inspect: Ensure no bare copper is visible at the bottom of the wire nut skirt (unless it is a ground connection).
Material Types: Standard vs. High-Temperature
Not all environments are created equal. Standard thermoplastic wire nuts are suitable for general building wiring, but industrial applications often require specialized materials.
Material Type Comparison
| Feature | Standard (Thermoplastic) | High-Temperature (Thermoset) | Ceramic/Porcelain |
|---|---|---|---|
| Temp Rating | 105°C (221°F) | 150°C (302°F) | 300°C+ (572°F) |
| Material | Polypropylene / Nylon | Engineering Thermoplastics | Porcelain |
| Cost | Low | Medium | High |
| Use Case | Residential wiring, outlets | Light fixtures, heaters | High-heat furnaces, industrial ovens |
Safety Standards and Compliance
For B2B distributors and contractors, compliance is non-negotiable. Wire nuts must meet strict safety standards to be sold and installed legally.
- UL 486C: The Underwriters Laboratories standard for splicing wire connectors.
- CSA C22.2: The Canadian standard equivalent.
- NEC (National Electrical Code): Article 110.14 governs electrical connections, requiring that connectors be identified for the material of the conductor and properly installed.
Application Guide by Industry
Different sectors have varying demands for connection types. While wire nuts are versatile, knowing where they fit best ensures system longevity.
Application Guide
| Industry | Primary Requirement | Recommended Connector Type |
|---|---|---|
| Residential Construction | Speed and Cost | Standard Winged Wire Nuts (Yellow/Red) |
| HVAC | Vibration Resistance | Secure-Grip / Winged Nuts |
| Oil & Gas | Chemical/Hazard Resistance | Hazardous Location Rated or Heat Shrink Sealed |
| Industrial Manufacturing | High Current/Heat | High-Temp or Bolt-on Connectors |
| Lighting | Small Gauge Handling | Orange/Blue Small Nuts |
Common Mistakes to Avoid
- Over-stripping: Leaving bare copper exposed below the nut creates a shock and short-circuit hazard.
- Under-stripping: Insulation entering the spring prevents good electrical contact, causing overheating.
- Mixing Metals: Never connect Aluminum wire to Copper wire with a standard wire nut. This causes galvanic corrosion and fire hazards. Use special purple wire nuts rated for Al/Cu connections.
- Over-filling: Forcing too many wires into a nut can crack the shell or deform the spring.
FAQ Section
Q1: Can I reuse wire nuts?
Technically, some manufacturers state that wire nuts can be reused if the spring is not stretched or damaged. However, for professional B2B applications, willele Electric recommends using new connectors to guarantee the integrity of the connection.
Q2: Do I need to pre-twist wires before applying the nut?
Most modern wire nuts are designed to twist the wires themselves. However, for large bundles (e.g., four #12 wires), pre-twisting with lineman’s pliers can ensure a more compact and secure bundle before the nut is applied.
Q3: What happens if I use a wire nut that is too big?
The internal spring will not bite into the copper strands effectively. The connection may feel tight initially but can loosen over time due to thermal cycling, leading to arcing and potential fire.
Q4: Are there wire nuts for waterproof applications?
Yes. Waterproof wire nuts are pre-filled with silicone sealant. These are essential for outdoor lighting, irrigation systems, and damp locations. Alternatively, standard connections can be sealed using willele Electric heat shrink tubing.
Q5: Can I tape the wire nut after installation?
While many electricians tape the nut to the wire bundle for extra security, a properly sized and installed wire nut does not require tape. If the nut falls off without tape, it was not installed correctly.
Conclusion
Selecting the correct connector using a Wire Nut Gauge Compatibility Chart and Guide is a mark of professional craftsmanship and a pillar of electrical safety. From the color-coded simplicity of the outer shell to the precision engineering of the internal spring, every aspect of these connectors is designed to handle specific electrical loads safely.
At willele Electric, we are committed to providing the B2B market with top-tier electrical solutions. Whether you require standard termination equipment or specialized heat shrink tubing to seal and protect your connections in harsh environments, our expertise ensures your projects meet the highest standards of reliability.
Contact willele Electric today to discuss your bulk electrical equipment needs and ensure your inventory is stocked with compliant, high-performance connection solutions.
